Intro to Pranayama Training Course

“When the breath wanders the mind is also unsteady. But when the breath is calmed the mind too will be still and the yogi achieves long life.” – Hatha Yoga Pradipika

Excerpt from the Intro to Pranayama training course:

My Story

I started practicing pranayama ten years ago. I spent two years studying the techniques and theories. Before then, I’d received a very brief introduction to pranayama through drop-in yoga classes. The intricate breathing practices were interesting, but I was much more attracted to the physical practice of yoga.

When I decided to become a yoga teacher I started learning basic pranayama techniques. Honestly, I didn’t want to do it! I didn’t have much patience and foolishly thought it was too easy for me.

The truth was that the idea of meditation was a little terrifying. I had been working with an anxiety disorder and the suggestion to sit quietly with my own mind seemed impossible.

[Recommended Reading: Up to 67% of People Would Rather Receive an Electric Shock than Meditate]

There’s a saying in yoga: That which you resist is the thing you need the most.

Hindsight being 20-20, pranayama was exactly what I needed. As a kid I was diagnosed with asthma, so my lungs were already weak. A solid pranayama practice would have helped immensely. But my ego was getting in the way of my ability to take care of myself…

My yoga teacher could see that I wasn’t breathing properly. He insisted that I learn the basic techniques. I went on learn the more advanced techniques and over time the theories began to take root. Eventually, I began to experience the more profound, subtle effects of pranayama.

What did I learn?

Pranayama training gave me a great appreciation for internal yoga practices. I also respect the many health benefits of asana practice. Americans have explored this facet of the yoga diamond extensively, due to our appreciation of the athleticism of the human body.

But I will say this…

If you never go beyond the physical practice of yoga you are shortchanging yourself.

The best analogy I can offer is:

If you take a bunch of vegetables, cut them up and put them into a pot, pour water over them but never turn on the stove… and somehow, you’re expecting that it will transform into soup.

Obviously, that’s never going to happen.

The way to light the fire of yoga practice is through comprehensive application and cultivation of the internal practices. It’s absolutely essential to have a well-rounded understanding of all of the branches of yoga in order to make real progress.

There’s a popular misconception that yoga can be anything to anyone, which is simply not true. Not in the traditional sense of what yoga is – a path to Self-realization and union with the divine.

So let’s begin…
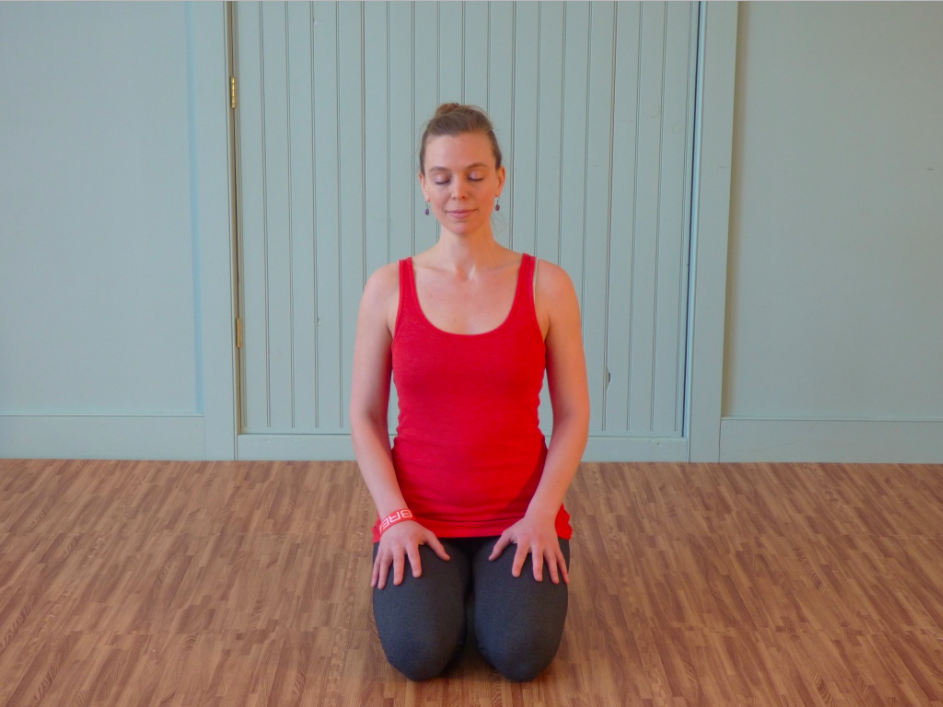
For more information please visit: Personal Yoga: Intro to Pranayama Training Course


If you enjoyed this article you might also like:

Self Teacher Study – Freedom Yoga Immersion

Self Teacher Study – Find Your Yoga

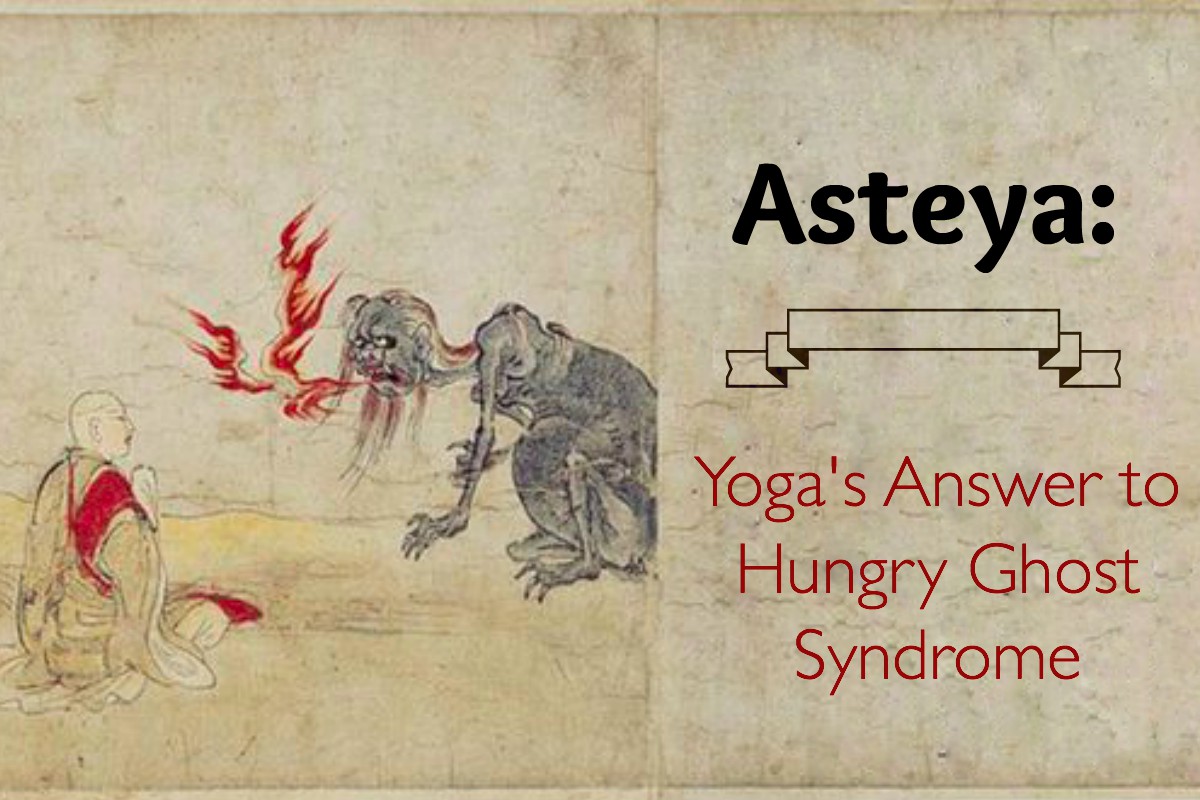
Asteya: Yoga’s Answer to Hungry Ghost Syndrome

I met a hungry ghost at a dinner party. I know the type, but had never met one who was so far gone. We had an eye opening conversation that got me thinking.

The concept of hungry ghosts comes from Chinese Buddhism, Taoism and Chinese folklore. Hungry ghosts are lost souls, often depicted as having long, thin necks and huge swollen abdomens. According to tradition, evil deeds such as killing, stealing and sexual misconduct lead to becoming a hungry ghost.

“Defined by a fusion of rage and desire, tormented by unfulfilled cravings and insatiably demanding impossible satisfactions, hungry ghosts are condemned to inhabit shadowy and dismal places in the realm of the living. Their specific hunger varies according to their past karma and the sins they are atoning for. Some can eat but find it impossible to find food or drink. Others may find food and drink, but have pinhole mouths and cannot swallow. For others, food bursts into flames or rots even as they devour it.” – Hungry Ghosts: their History and Origin

This person was a living embodiment of the hungry ghost archetype. I soon realized that I was talking to a black hole of self-despair. I tried helping her but after a few attempts she became hostile so I let it go…

At the end of the night she had a flashback to a past trauma (poverty and starvation). She kept repeating:

“I was so hungry.”

One way she chose to deal with this was by directing her anger at the wealthy class. People she had never met or had any direct contact with. In her mind taxation was the solution to wealth inequality. She admitted that she lives beyond her means and has significant debt.

The interaction left me feeling drained and unsettled. One way I handle troubling situations is through research and contemplation (Jnana Yoga). My reflections led me back to the third Yama of Ashtanga Yoga: Asteya.

The Yamas are the universal ethical practices of yoga. Paired with the Niyamas (observances) these moral restraints form the foundation of Patanjali’s eight limbs of Ashtanga Yoga.

Asteya means non-stealing. One could say that stealing is a response to a sense of powerlessness which stems from feelings of not being enough.

In this context, stealing extends beyond more obvious forms of theft (examples: pick pocketing, burglary, etc.). Stealing may also include:

  • Other people’s ideas
  • Disregarding personal boundaries
  • Having an envious state of mind
  • Taking up a person’s time or attention
  • Energy (succubi/incubi)
One thing we do know is this: many people who experience interactions with psychopaths and narcissists report feeling ‘drained; and confused and often subsequently experience deteriorating health. – The Psychopath: The Mask of Sanity

She had what I would call a hungry ghost syndrome. Somewhere along the way these people lose their connection to their personal power. It may be a result of abuse, resulting in any number of dependencies.

Asteya is a reminder that we are enough. Learning how to cultivate our personal power is an excellent way to reverse the mindset of hungry ghost syndrome. Building our energy reserves allows us to feel balanced, strong and healthy when we go out in the world.

Some ways to do this include: meditation, taking care of your body, self-love, and alone time. In my Intro to Pranayama course I teach people how to access their own complete, full source of energy.

Final thought from the Yoga Sutras:

Once non-stealing has been permanently established, all riches will be available.

If you enjoyed this article you might also like:
Yogavotes is Spiritual Materialism in Action

Practice, Practice, Practice Alone

Superfood Peanut Zucchini Noodles

Swift as the wind

Quiet as the forest

Conquer like the fire

Steady as the Mountain

– Sun Tzu, “The Art of War”

Can you feel it?

Things are heating up. There’s a buzz in the air, like we’re on the precipice of something big. It’s almost palatable, electric.

It’s not great for sleeping but it is good for getting focused. And whatever we focus on, grows…

Summer heat brings thunderstorms. As the storm approaches, sink down and root. Take slow, deep breaths.

Just stay cool.

Summer is a great time for detoxifying and introverted asana practices. It’s also the season for salads, juice, and other raw foods.

There are a few raw dishes in my culinary arsenal that have withstood the test of time. Zucchini noodles are one of them.

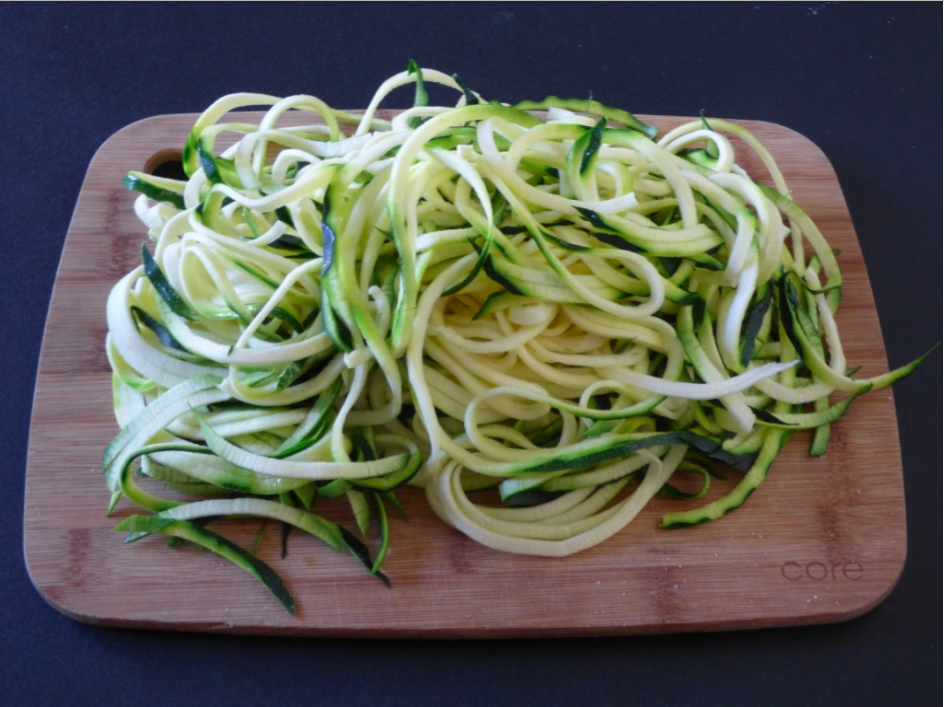
My love for zucchini noodles (zoodles) began with a simple salad of wide noodles (using a vegetable peeler), marinated for fifteen minutes in lemon juice, extra virgin olive oil and Kosher salt.

Easy to digest = easy to absorb the prana of the food.

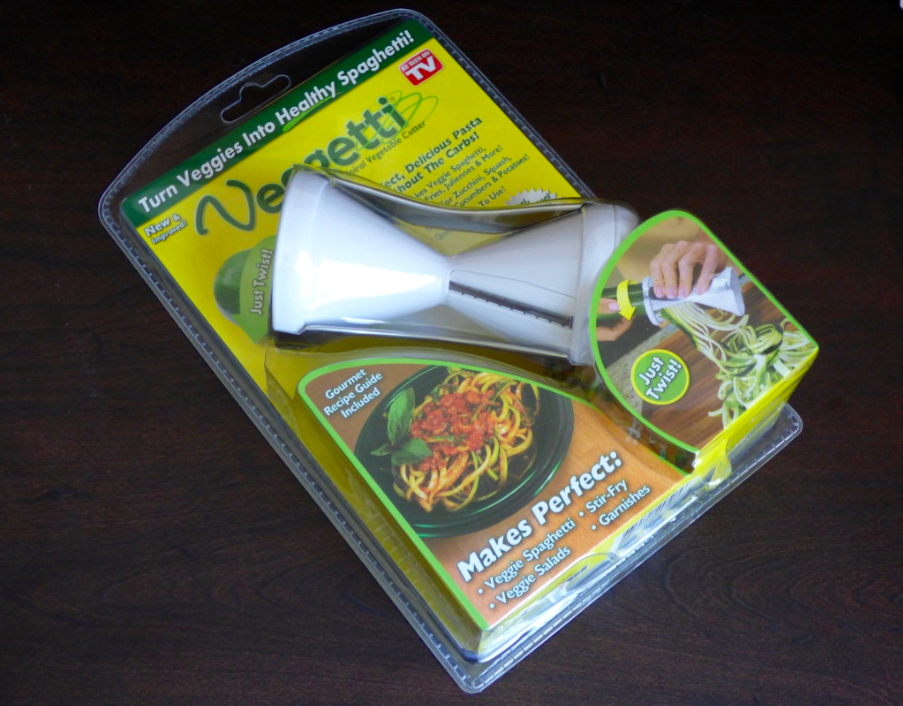
My brother sent me this spiralizer for Christmas. I’ve been waiting for the warm weather to try it out.

My first project: Peanut Zucchini Noodles. I found some inspiration here:

Crazy Good Peanut Noodles (Quick & Easy, Gluten-Free, Grain-Free, Paleo)

And here: Easy Healthy Dinner: Peanut Chicken Noodles

Zucchini is a superfood that has incredible health benefits. Peanuts and peanut butter are powerhouse foods too, especially for men.

A Word of Caution: Please read ingredient labels, avoid trans fats, and choose organic whenever possible (especially zucchini – avoid the conventional GMO variety). Toasting nuts adds flavor and kills mold. People with peanut allergies could substitute almonds/almond butter.

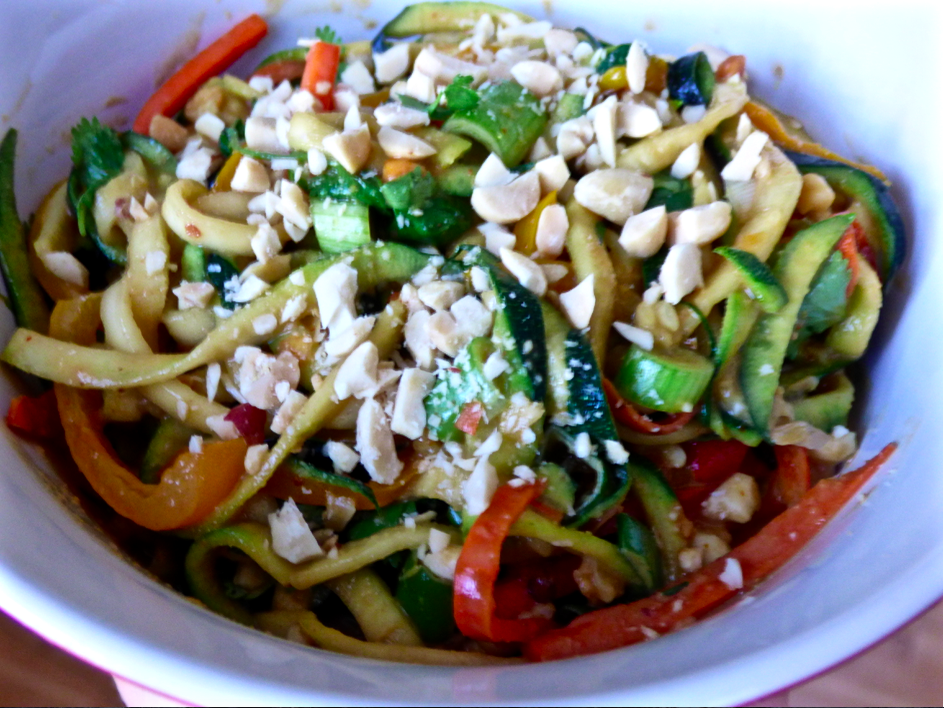
Superfood Peanut Zucchini Noodles

Makes 3 servings

Sauce

5 Tbsp peanut butter, smooth or chunky
1/4 cup soy sauce
2 Tbsp raw apple cider vinegar
1/4 cup dark brown sugar
1/4 tsp cayenne
1 Tbsp Sriracha (I like MM Local)

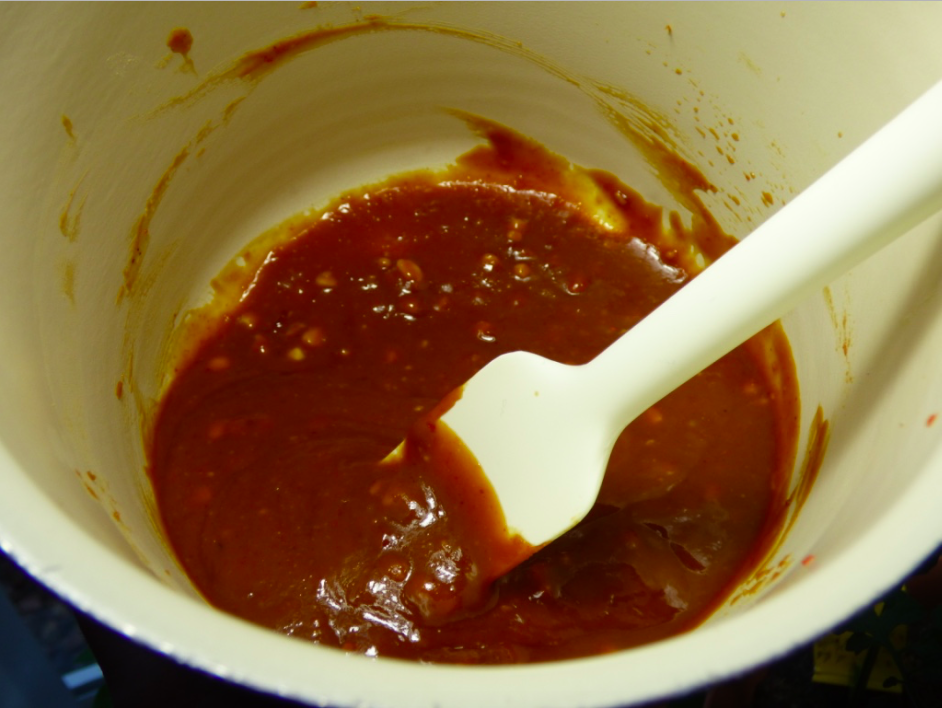
Combine in a saucepan and warm on low until peanut butter melts. Remove from heat and set aside.

Stir Fry

1 Tbsp coconut oil
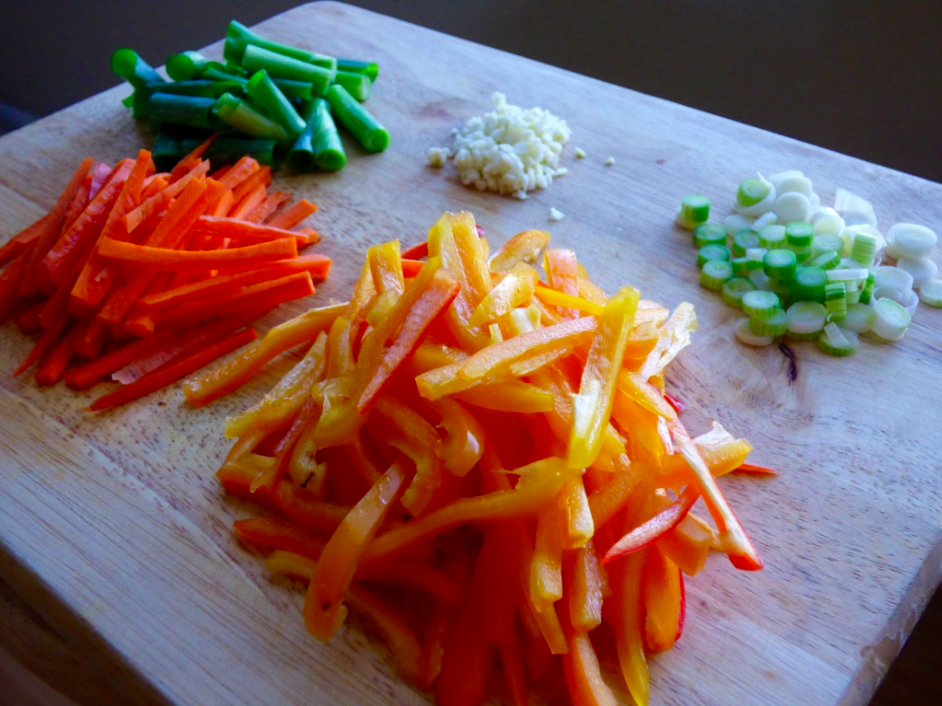
1/2 carrot, cut into 2″ slivers
1 bell pepper (yellow, red, or a combination), cut into 2″ slivers
1/2 c green onion, sliced (reserve green parts)

Preheat a large saucepan or wok on medium low. Add coconut oil, carrot, pepper. Gently stir fry for 5 minutes.

While cooking julienned vegetables, spiralize 2 medium zucchini with the wide, fettuccine blade. Set aside.

Add 1 Tbsp minced garlic and white parts of green onion to the stir fry. Cook for 1-2 minutes, or until garlic is fragrant. Turn heat off.

Add zucchini noodles and green onion parts, fold in sauce. Finish with 1 tsp toasted sesame oil.

Toppings

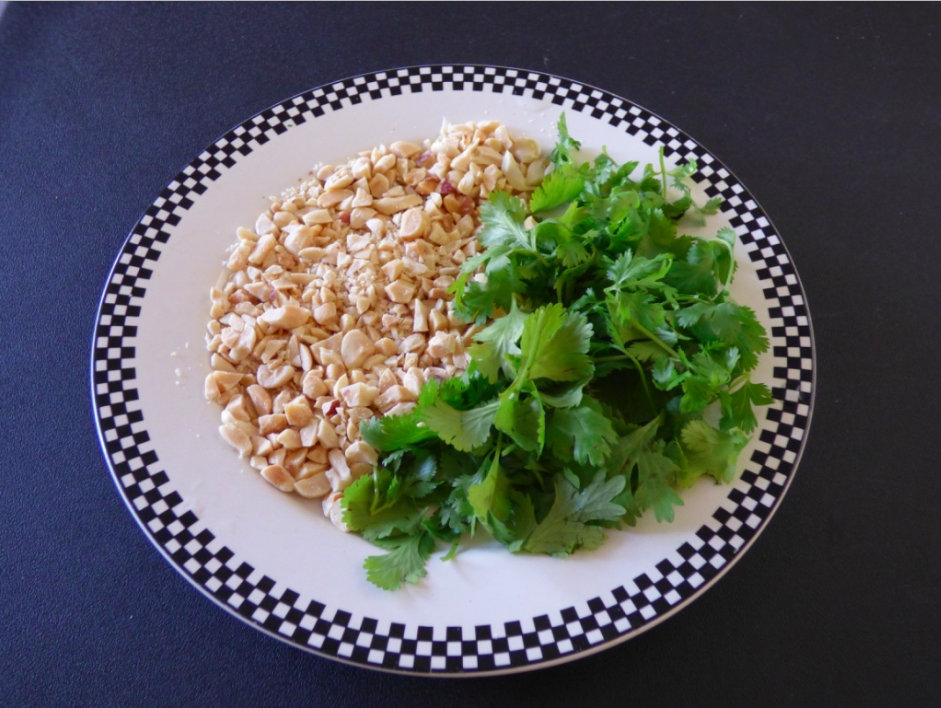
1/4 cup cilantro
1/4 cup chopped, toasted peanuts
Himalayan pink salt

Serve warm or at room temperature.

If you enjoyed this article, you might also like:

St. John, USVI

Summer Skincare is Getting Juicy

When Life Gets Busy Your Practice is the First Thing to Go

One could say that moving falls in the top five life challenges. I’d say that’s a safe bet, just based on the volume of time and energy that moving requires. When life gets busy taking care of ourselves loses priority. Fast.

It’s been a week since I moved into my new home. It still feels like I have a thousand things to do and I’m juggling so many balls in the air. I’ll be so happy when I’m settled in and can get back on track with my practice.

As I’m unpacking I keep pausing in front of the window of my new training space. We just had a late spring blizzard and the beautiful pine tree outside is covered in snow.

I watch as the sunlight begins to shine through the clouds. I’m daydreaming about practicing in my new home.

I had to sacrifice my own training quite a bit this month. It happens. Especially when your home is under construction.

When life gets busy your practice is the first thing to go. – Garrell Herndon, Bodyworker and Yoga Instructor

At times like these I remember some wise words from an Iyengar yoga teacher that I studied with. They always serve as a good reminder to be gentle with myself during times of high output.

I know the work is worthwhile. I’m just so incredibly grateful to have a home training space. It’s a long term dream that requires very particular dimensions of space. I am not a fan of the tiny house movement. Or low hanging ceiling fans. Or big pieces of furniture.  I like to move!

I’m getting close to achieving my dream lifestyle: to have a job that I love, to be able to focus on my practice, and create Personal Yoga retreats. I can’t even begin to describe how happy this makes me…

Living my Dharma, one day at a time.

Self Teacher Study – Personal Yoga Training Chart

A Personal Yoga practice gives you the freedom to practice anytime, anywhere. Practicing at home sounds easy enough but it can take years to cultivate your own intuitive, organic practice.

Needless to say, it can be challenging to self-direct your own practice. Having too many choices can feel overwhelming. Without a clear road map you might start avoiding your mat altogether.

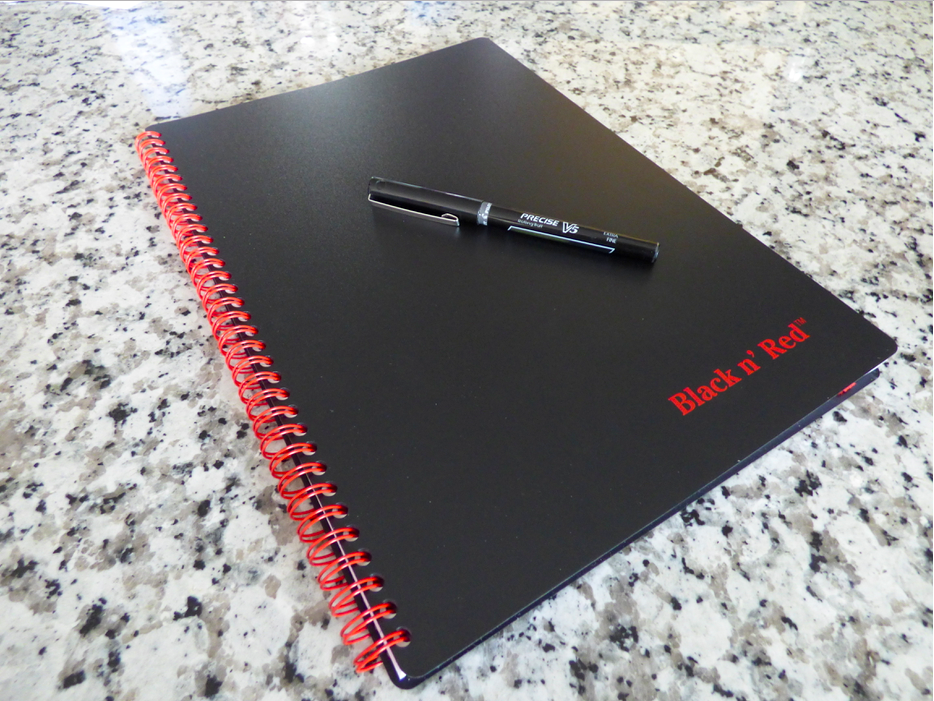
When I feel overwhelmed I get organized. I keep a wire-bound notebook on my desk at all times.

I love making lists. All kinds. Grocery lists, “To Do” lists, long-term goal lists, project lists, etc. I love the satisfaction of crossing things off and throwing lists away. I keep the best lists.

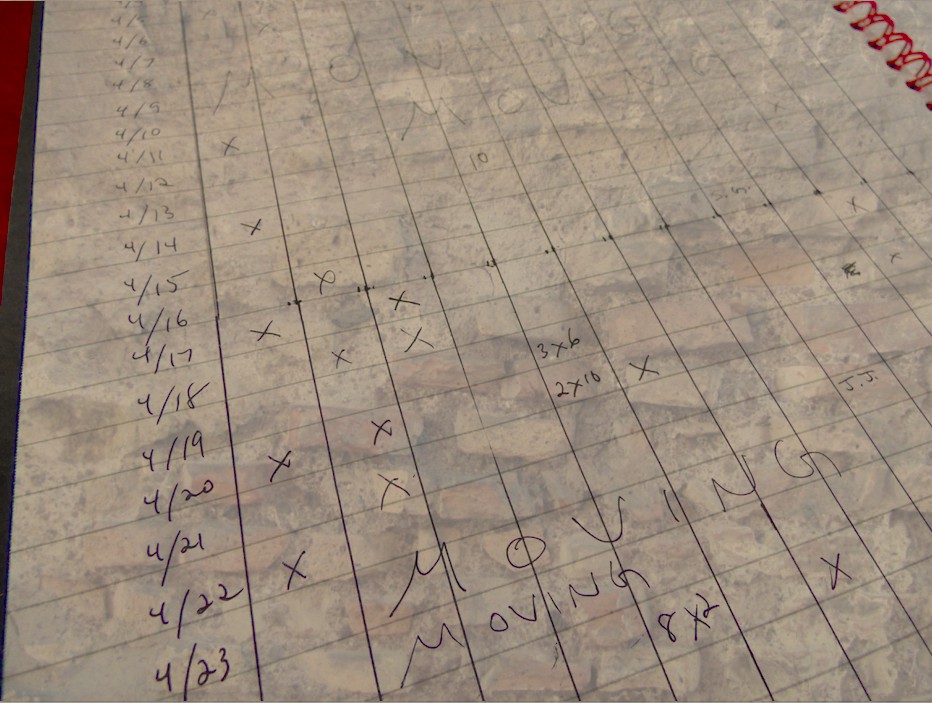
Six months ago I started developing my first Personal Yoga training chart (feel free to expand upon it). This organizational tool played an essential role in my recovery from a herniated disk.

Create your own Personal Yoga Training Chart

Step 1: Free Writing

Start by free writing a page of notes. Write continuously until you fill the page. Don’t worry about spelling, punctuation, grammar, etc. Write about your goals. Write about any challenges you might be having with your home practice. It’s okay to go off topic, just keep writing.

Step 2: Movement Vocabulary

On a fresh sheet of paper make a list (!) of exercises. Think about your movement vocabulary. Which exercises will help you reach your goals? What do you enjoy doing?

[The key word here is: Enjoy. One pitfall to avoid is too much structure. Too many have-to’s. Not enough want-to’s.]

How do you want to move?

The level of challenge is up to you. You could include one or two exercises that you don’t necessarily enjoy but would be good for you. For the most part include exercises that you genuinely enjoy.

Step 3: Training Chart

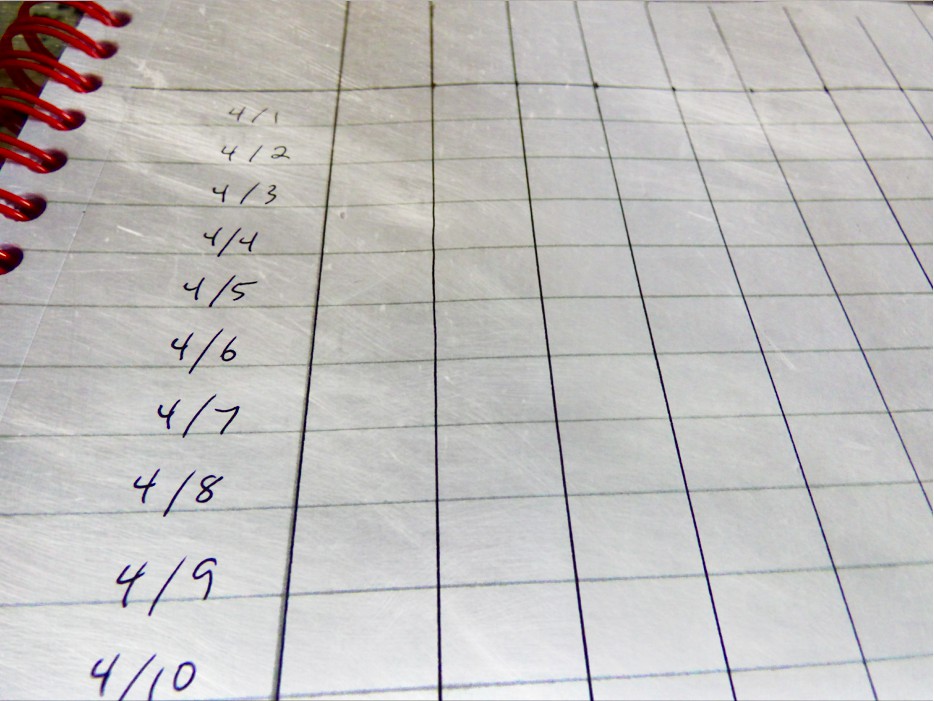
On a third sheet of paper make a chart. On the left side of the page list all of the dates for the next month. Across the top of the page create columns for each exercise that you listed in Step 2.

The number of exercises is up to you. I recommend anywhere from 3-12. Your personal practice can be as simple or as challenging as you want to be. The idea is to pick exercises that you can see yourself doing on a day-to-day basis.

Tracking your daily progress is very satisfying. And a training chart provides you with a record of your efforts over time.

Off Days

Gaps in your training schedule are okay! It’s bound to happen at some point. Life gets busy or takes an unexpected turn. Be kind to yourself on your off days. Trust that you’ll get back on track as soon as possible.

Could you use a little help with with your budding home practice? I’d love to hear about your goals. Book a free no-obligation consultation today.

If you enjoyed this article you might also like:
Self Teacher Study – Mind Body Parkour

Personal Yoga Benefits

Sensory Deprivation Tanks – Pratyahara for Modern Day Life

Finally!

I’ve wanted to try a sensory deprivation tank for years. It’s been on my bucket list after hearing friends swear by them.

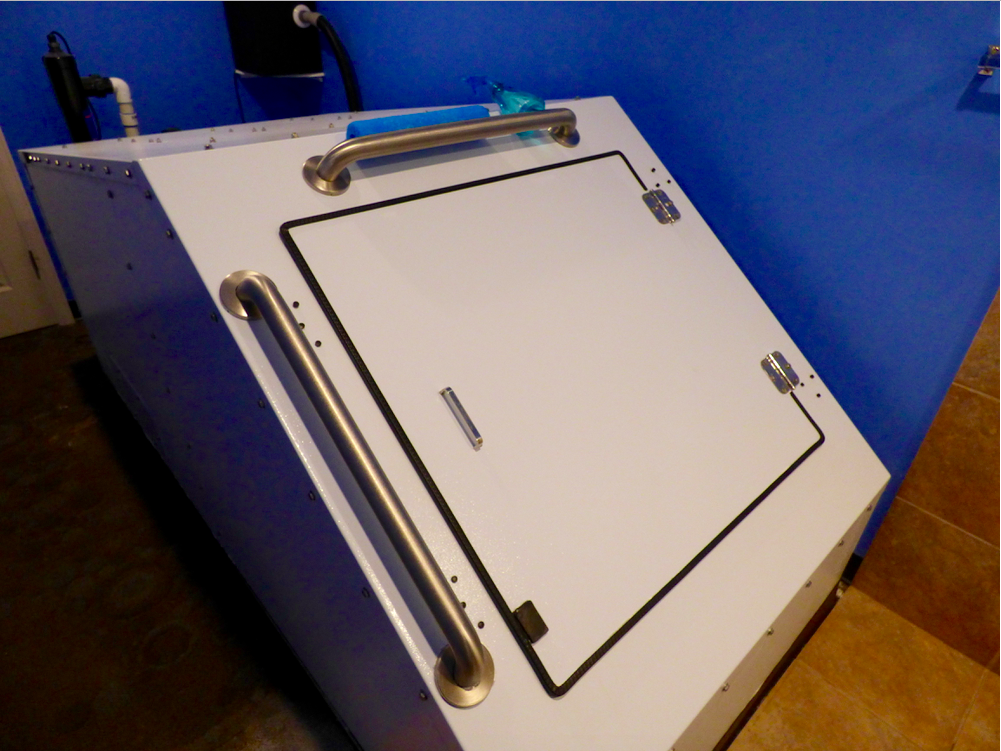
As luck would have it, Parker is home to the largest float spa in Colorado. I was delighted to find a Groupon deal for a 90 minute session at the Astral Float Spa.

…invented by John Lilly back in 1954, it is a lightless, soundproof tank inside which subjects float in salt water at skin temperature. The tanks are now also used for meditation and relaxation and in alternative medicine. The best thing you can do for your mind, body and soul. The only environment like it is in space or back in the womb. – Astral Float Spa

DEETS

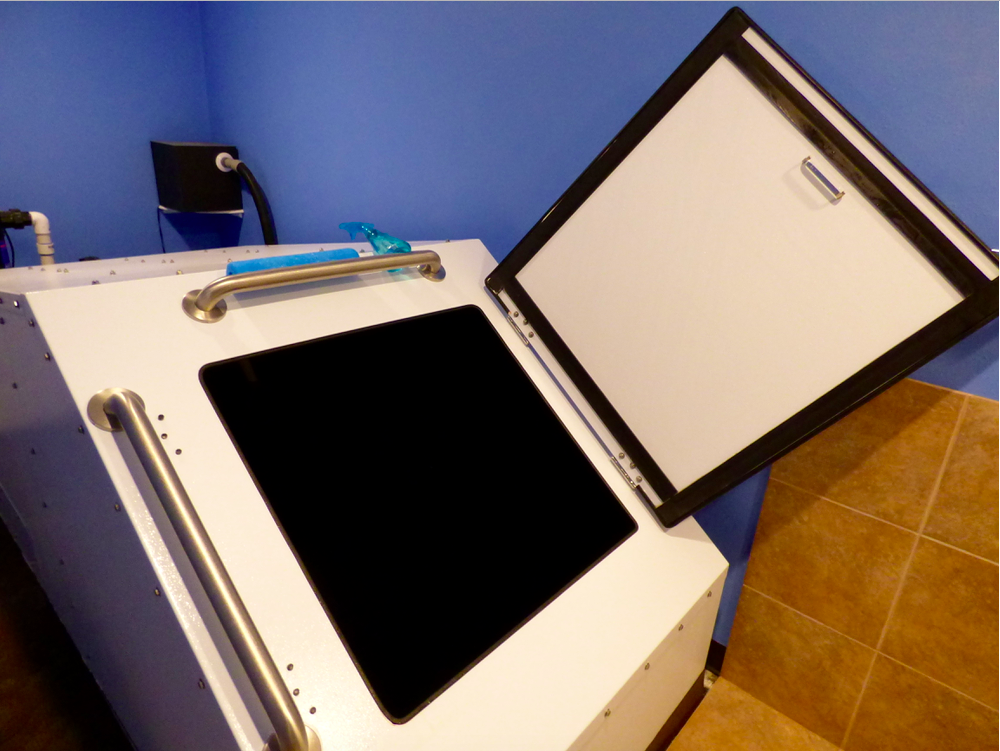
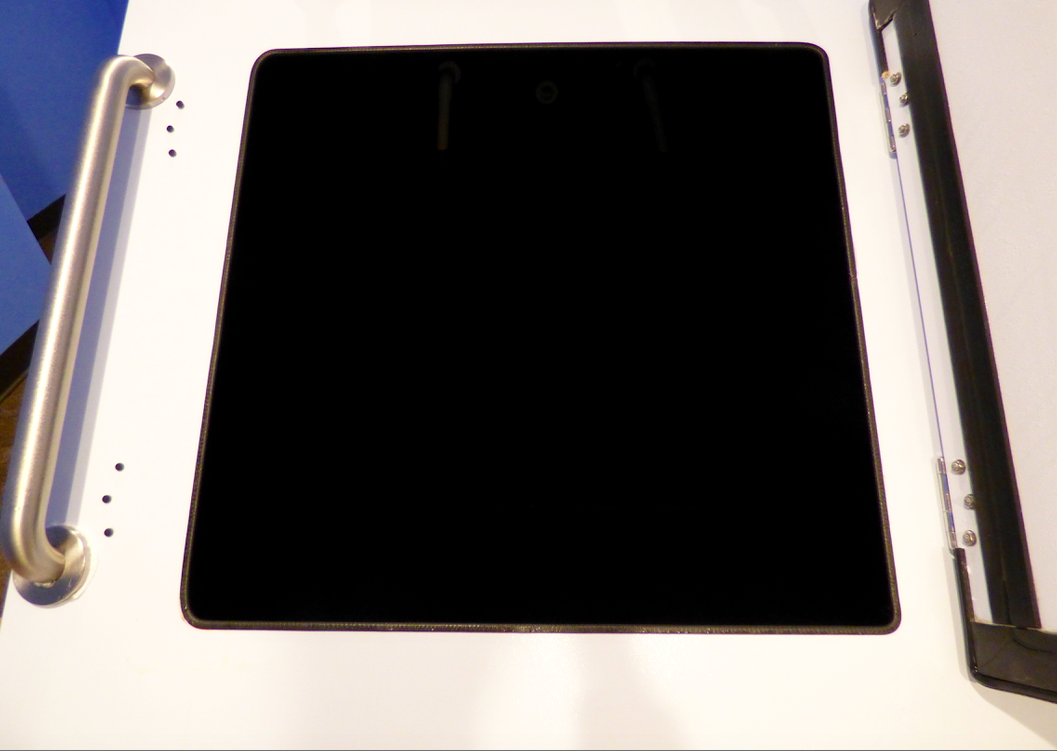
  • The interior of the tank is about 4′ wide by 8′ long.
  • The water is approximately 10″ deep.
  • Each tank contains 800 pounds of dissolved medical grade Epsom salt.
  • The high salt content gives the water a soft and silky consistency.

So why would anyone do this? Modern day living has many people feeling desperate for relief. Our senses are bombarded constantly. The need to unplug is strong but few of us are able to get off-grid.

Sensory deprivation tanks can be an oasis for an over-stimulated nervous system. Modern day yogis can use them for practicing pratayahara, (sensory withdrawal) the fifth limb of Patanjali’s eight-fold path. According to Yogapedia:

Pratyahara is considered important in yoga because it forms a bridge between the external focus of the previous limbs of yoga and the internal focus of the subsequent limbs, which move the practitioner into concentration, meditation and, eventually, to the goal of samadhi (union with the Divine).

Fear Factor

To be honest I was a little apprehensive. Mild claustrophobia and concerns of being too cold crossed my mind. I wasn’t about to let fear stop me so I worked through my reservations.

This may sound morbid, but we all die eventually. I figured that a 90 minute savasana was a good way to practice for the big event. That’s what “Corpse Pose” is for anyway.

My fears dissolved the moment I stepped into the tank. The darkness was inviting and the water temperature was comfortable. The parts of my body that were exposed to the air were surprisingly warm.

Effortless Floating

The high concentration of Epsom salt made my body super-buoyant. I positioned myself in the center of the tank and moved into stillness. The only sensory input was from occasional contact with the walls or a random droplet of condensation.

I focused on my breathing and started to relax. Knots of tension began to unravel. First my sacrum, then my right femur, left shoulder, fingertips…

As the layers of modern day body armor began to melt a wave of sadness rose up my back (the storehouse of past memories). Much like the effect of healing bodywork, floating helped me release some grief.

Once the daily headlines and life soundtrack ran their course, past memories of floating began to surface. These dreamlike images of swimming or soaking all shared a similar feeling of freedom. I drifted farther into a state of bliss when all of a sudden…

BLAM

With uncanny precision, a single water droplet exploded between my eyebrows. Chinese Water Torture on my third eye. A current of awareness traveled up my forehead and the crown of my head began to pulsate.

After an hour of stillness I wanted to move again. I discovered that when I secured my heels against the floor I could slide back and forth, creating wave patterns with my spine. My joints cracked open as my hair floated around me like long strands of seaweed.

Aftermath

Afterwards I felt hypersensitive, similar to the effects of a two hour yoga practice. I felt disoriented, vulnerable, and eager to retreat from the world. I wasn’t so sure about the whole operating a motor vehicle thing, but I drove myself home.

If you ever want to try a sensory deprivation tank, my advice would be to arrange for someone to pick you up. Also be sure to go when the weather is warm. Best to avoid going into the cold with open pores or a wet head. Stay healthy!

If you enjoyed this article you might also like:
Self Teacher Study – Mind Body Tune Ups


Home Rituals – Maple Pecan Pie

I’ve had slow-cooked foods on the brain lately: French onion soup, barbecued ribs and pecan pie. Slow-cooked foods are ideal in the winter and when my body is craving certain foods, I listen.

I’ve wanted to make a pecan pie for ten years. My inspiration came from the Shoshoni Yoga cookbook, which I discovered after a day trip to the Rollinsville, Colorado center.

Even more outstanding than the high frequency of the beautiful mountain ashram or the gentle yoga class was the food…

The yoga class was held in the main hall next to the kitchen where I could hear the cooks chanting mantras (mantra: to protect).

The summer meal consisted of Mexican vegetable soup, salad with avocado dressing, and sopapillas with refried beans and cheese. I felt so nourished from eating these foods and left wanting to know more.

I studied every page of that cookbook. All great recipes (especially the desserts section) but the pecan pie was the most impressive. Why?

They use maple syrup instead of corn syrup.

I didn’t know you could substitute the two. Corn syrup is a standard ingredient in pecan pie. It’s also one of the sweeteners that I avoid.

Maple syrup is packed with nutrients and anti-oxidants. Combined with pecans’ massive health benefits this dessert is a phenomenal superfood.

“One saintly Ma from Bangalore tells us, “We need to eat a little sweet on occasion, so we stay sweet.” – Yoga Kitchen: Recipes from the Shoshoni Yoga Retreat

I’d been hesitant because I wasn’t sure how to do it. I didn’t want to mess up or waste good ingredients. But after a two week Personal Yoga retreat I felt more courageous and aware of my body’s messages.

It became clear that I needed more information. So I did some research which led me to this recipe. It’s similar to Shoshoni’s version and has more detailed instructions.

A Personal Spin

I used pre-shelled pecan pieces (slow food is great but ain’t nobody got time to shell 2 1/2 cups of pecans) and added a little nitrate-free bacon fat to the pie dough (bacon fat prevents the crust from burning). You could go straight butter – just keep an eye on the edges. [Is Lard Healthy?]

Maple Pecan Pie

Prep: 8 hours or overnight

Servings: 8

One 9″ Pie Crust

  • 3/4 cup white flour, chilled
  • 1/2 cup whole wheat flour, chilled
  • 1/2 tsp Kosher salt
  • 5 Tbsp butter, chilled
  • 3 Tbsp bacon fat, chilled
  • 4-6 Tbsp ice water

Filling

  • 2 1/2 cups toasted pecan pieces
  • 6 Tbsp butter
  • 3/4 cup dark brown sugar
  • 2/3 cup Grade B maple syrup
  • 3 large eggs
  • 1/2 tsp Himalayan sea salt
  • 2 tsp pure vanilla extract
  • 2 Tbsp Bourbon (optional)

Prepare the Crust

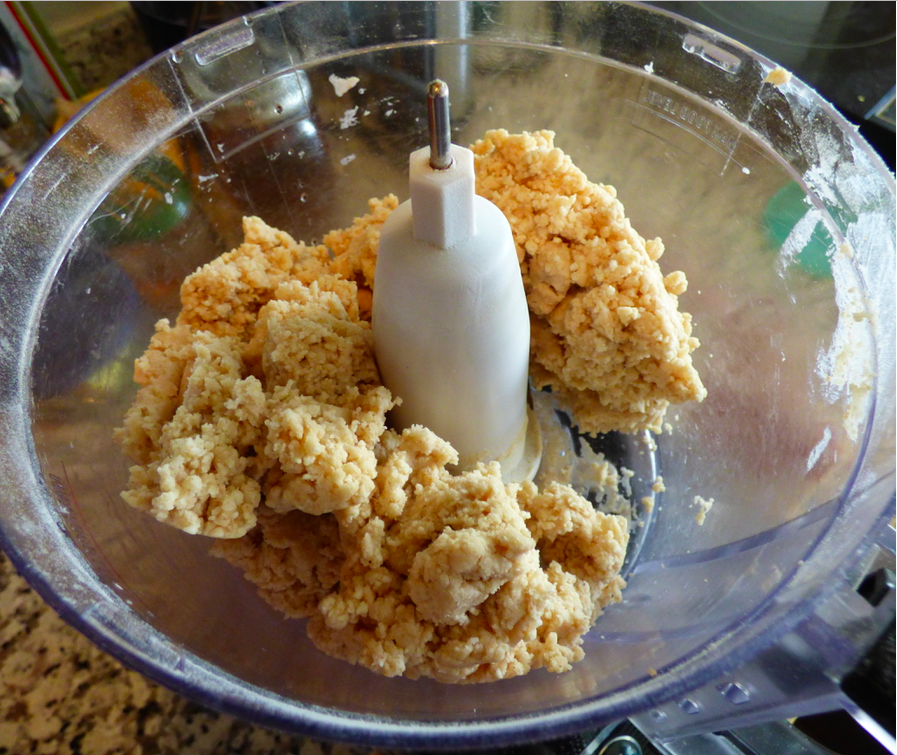
  1. In a food processor pulse to combine the flours and salt. Add chilled butter and fat and process until the mixture has the consistency of cornmeal. Add 4 Tbsp ice water and pulse until the dough gathers into a ball. Add 1-2 additional Tbsp of water if needed.
  2. Transfer dough to a piece of parchment paper. Form dough into a round disk, handling as little as possible. Wrap dough in parchment paper and place in a sealed ziplock bag. Place in freezer for 30 minutes.
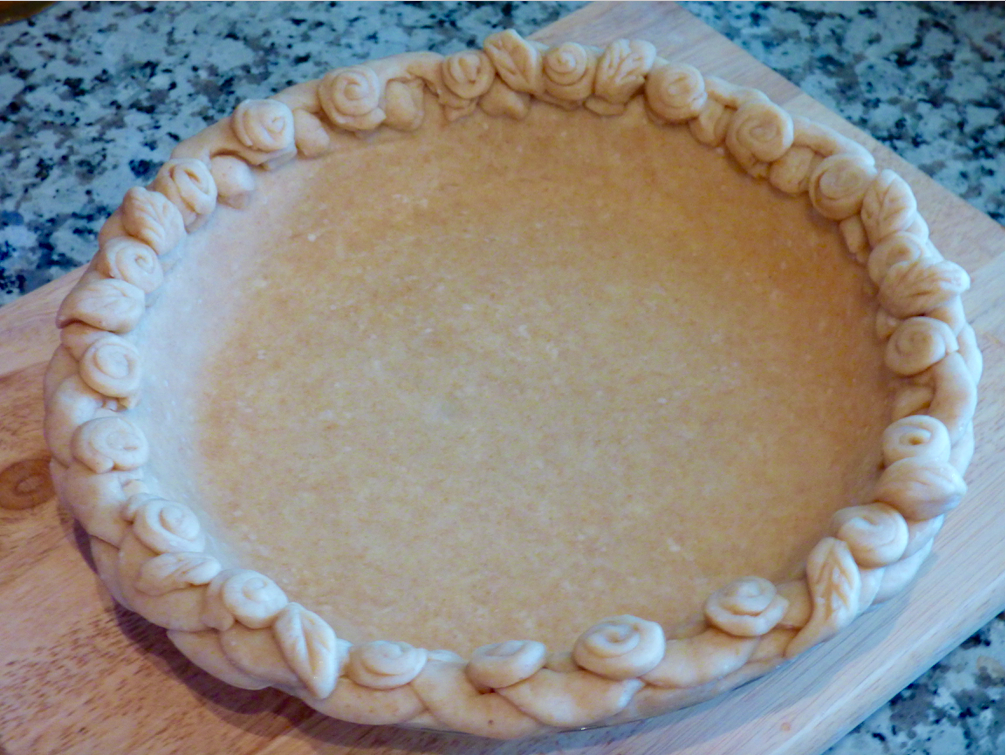
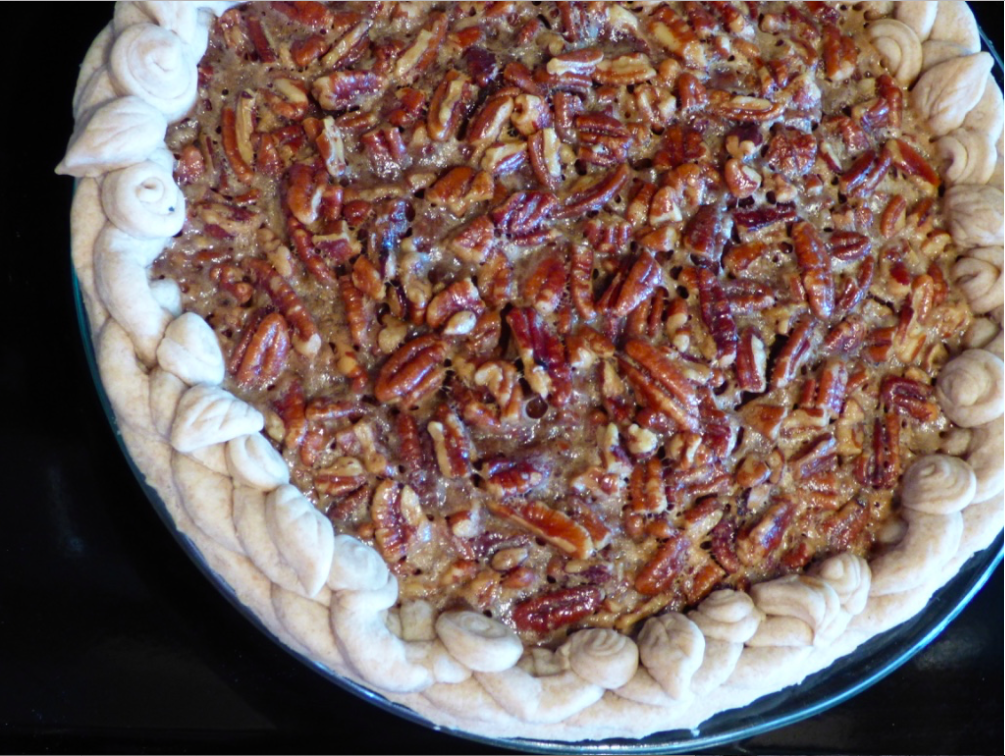
  3. Unwrap dough and lightly flour a rolling pin. Roll dough into a 12″ circle. Transfer to a 9″ pie plate. Press rolled dough to fit pie plate. Shape edges into a fluted or decorative design of your choice.
  4. Chill crust for 30 minutes.
  5. Line pie crust with parchment paper and dry rice or pie weights. Bake crust at 400 degrees for 20 minutes, then remove paper and weights.

Filling

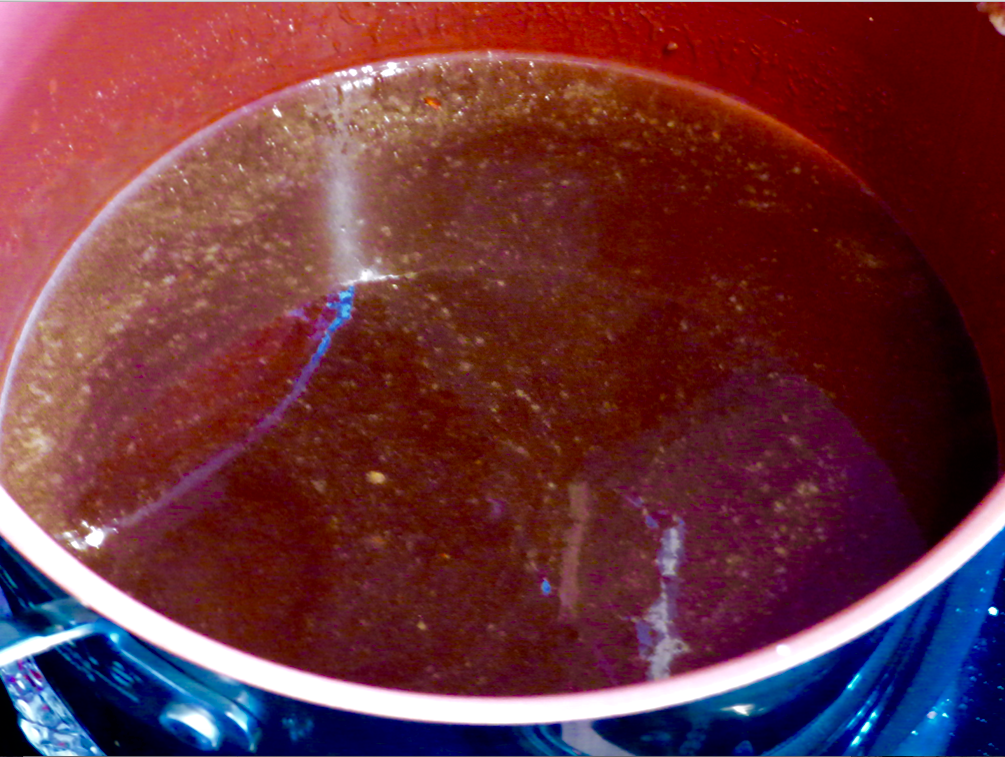
  1. Prepare the filling while the pie crust is baking. In a medium saucepan melt the butter, brown sugar and salt. Remove from heat and add maple syrup, vanilla, and Bourbon.
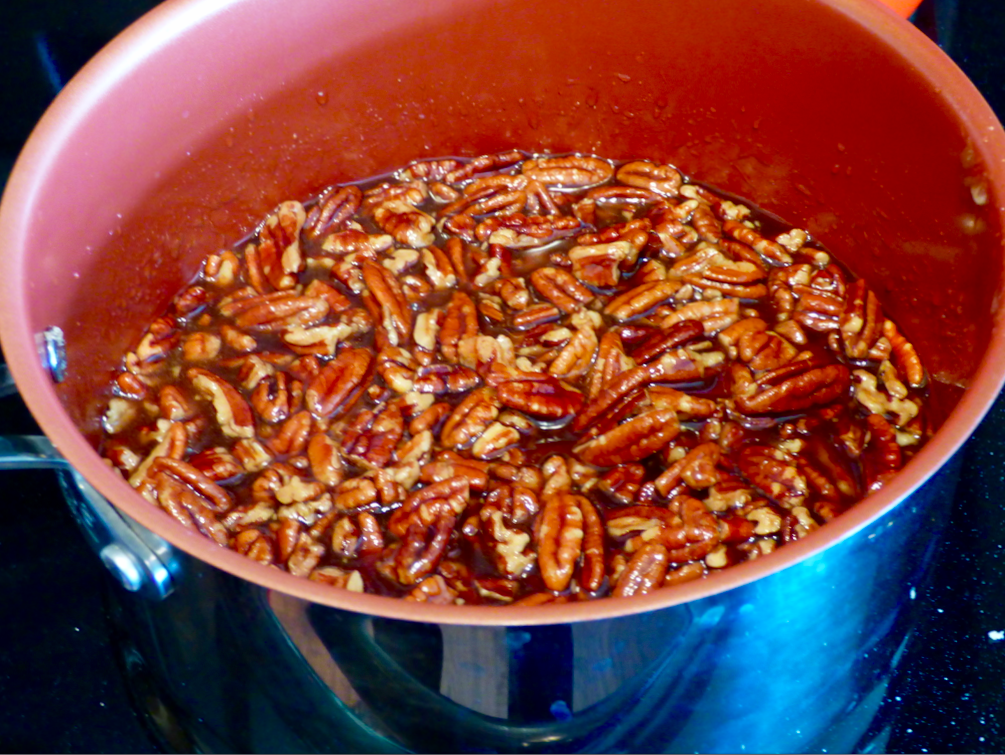
  2. Stir in the toasted pecan pieces. Option: to infuse the pecans add them to the vanilla-syrup while they are still hot. Let cool completely.
  3. In a small bowl whisk the three eggs. Stir into pecan mixture in three additions.

Pour filling into hot, pre-baked pie crust. Reduce heat to 275 degrees. Bake pie for 20-40 minutes. I recommend reading the Bojon Gourmet’s article for how to determine when the pie is done.

Let the pie cool completely and refrigerate. One hour before serving cut into slices and bring to room temperature.

If you enjoyed this article you might also like:
Home Rituals: Berry Walnut Muffin Bread

Self Teacher Study: Mind Body Tune Up

How to Plan a Winter Solstice Personal Yoga Retreat

Winter Solstice


“Winter Solstice”

No more hurry

hurry,

time now for firelight

and dreaming,

for church bells

mingling

with the cold, quiet sunlight.

And somewhere

deep

inside of you

a kernel of courage

unfurling –

each day, more light.

– Irene Latham


“If you want to make God laugh, make a plan.” 

A friend once shared this tidbit of wisdom with me, and it still rings true whenever my plans fall apart. I had every intention of focusing on my practice for the month of December but my immune system has been on the ropes from three consecutive colds.

Thankfully I’ve had a chance to regroup, just in time for the Winter Solstice. In some ways it’s better to start a Personal Yoga retreat now because I’ll have fewer distractions over the holidays.

Of course, the ultimate goal is to merge working life seamlessly with your practice. But according to the great Sage Patanjali, the first of 13 Obstacles on the Yogic Path is sickness. There isn’t much we can do until we’re feeling better. So incubation is key, which falls in line with the power and presence of the Winter Solstice.

Winter Solstice Retreat

I like to begin a Personal Yoga retreat with a few simple preparations. These are especially beneficial if you haven’t been feeling well or have low energy from holiday season burnout. I recommend starting with Saucha, the second Niyama (observance) of Patanjali’s Ashtanga Yoga.

The Niyamas are foundational practices that relate to our internal world. Saucha means purity or cleanliness of our internal and external worlds. When we engage in Saucha on an external level (such as our bodies), we are also affecting the internal (mind and spirit) parts of our beings.

If my house isn’t clean I have a hard time focusing on anything. So I like to practice Saucha with a thorough and intentional cleaning of my home environment. A few of my Saucha materials include:

  • White Vinegar Spray: Great for counter-tops, bathrooms and floors (dilute 50/50 with water).
  • Baking Soda: Mix with vinegar spray to create a paste for sinks or tubs.
  • Essential Oils: Lavender and Tea Tree are powerful antiseptics. Add a few drops to a sponge or mix with grain alcohol for a DIY air freshener. (For more information, read Freshen Indoor Air Naturally )

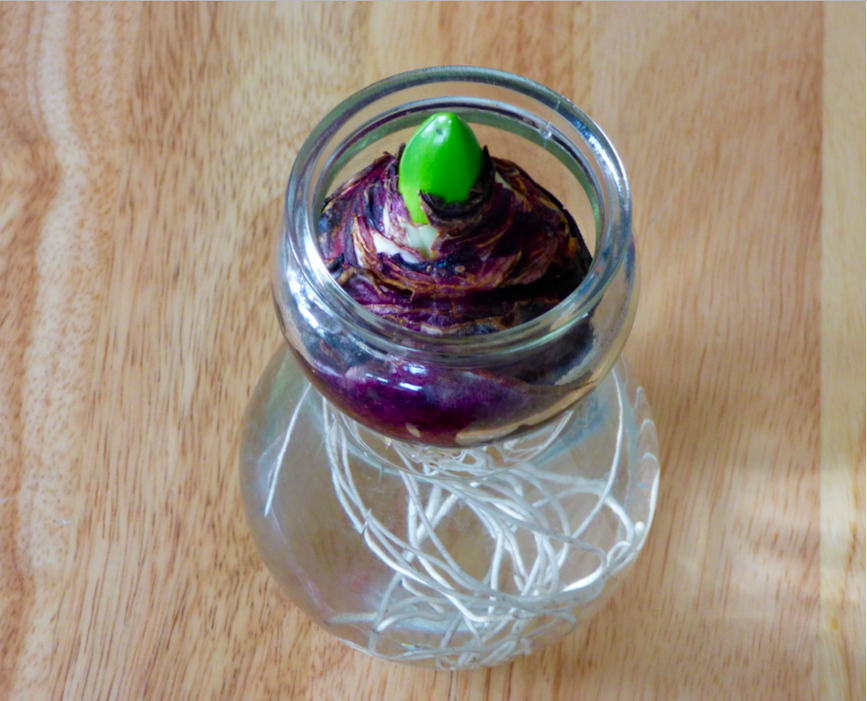
I love the way burning candles and diffusing essential oils can lift the feeling of a space. [Fun fact: I recently learned that burning dried sage can reduce airborne bacteria.] Another nice touch is a vase of fresh flowers in clean water.

I like to conclude a meditative house cleaning with a hot shower and a fresh set of clean clothes. These simple steps clear my mind so that I can drop more easily into my practice and refill my “cup.”

I hope these tips spark your imagination with creating your own Winter Solstice Retreat.

If you enjoyed this article you might also like:
Winter Solstice and the Guru Bead

6 Immunity Boosting Tips

Hot Logic Mini

hot-logic-mini-parkDisclaimer: I am not paid to endorse the Hot Logic Mini. I am simply sharing my appreciation for the intelligent design of this product with my readers.

So I’ve never blogged about a product before, but this is one of the best things that I’ve come across in a long time. And it ties into past discussions about alchemical cooking, health, the Slow Movement, etc.

The Hot Logic Mini is a personal portable oven that uses what the company describes as a “low-slow conductive heating system.” According to their website:

The Hot Logic Mini is ideal for those of us who don’t like microwaves… busy people who don’t have time to cook… truckers / delivery drivers / travelers who don’t have a lunch room… food preppers & fitness enthusiasts… folks with food allergies or special dietary concerns who want to carry a safe, healthy, hot meal with them anywhere they go.

I can’t stand microwaves. Just the thought of ruining a good meal by wicking away all of the nutrients makes me feel pretty sad. It’s one of the reasons why I don’t like to eat out very much. I prefer to cook my own meals because I know exactly what’s going in them and how they were prepared.

When I go out into the world for work or school, microwaves tend to be the only available option. I am a firm believer in the necessity of eating hot meals. Hot food is as essential for good health as hot beverages are – especially in the colder months.

I am the kind of person who carries a toaster oven around with me. [Taoist Travel Tip: they do come in handy on the road.] But toaster ovens are bulky and can take up space, and it’s not so easy to be discreet with them. So you can imagine my excitement when I discovered my new favorite thing:

The Hot Logic Mini

I just spent a month playing with my new toy. I paid $40 for it on ebay and didn’t want to take the risk of having someone steal it. So I kept it my car and used a portable jump starter with a USB outlet and a 100 watt car inverter (the Mini uses 45 watts).

I use glass pyrex containers for food storage. Glass is preferable to plastic or aluminum foil, because glass keeps the food safe from harmful chemicals that leach into the food when it’s heated. Glass is also non-porous so it doesn’t absorb food or germs.

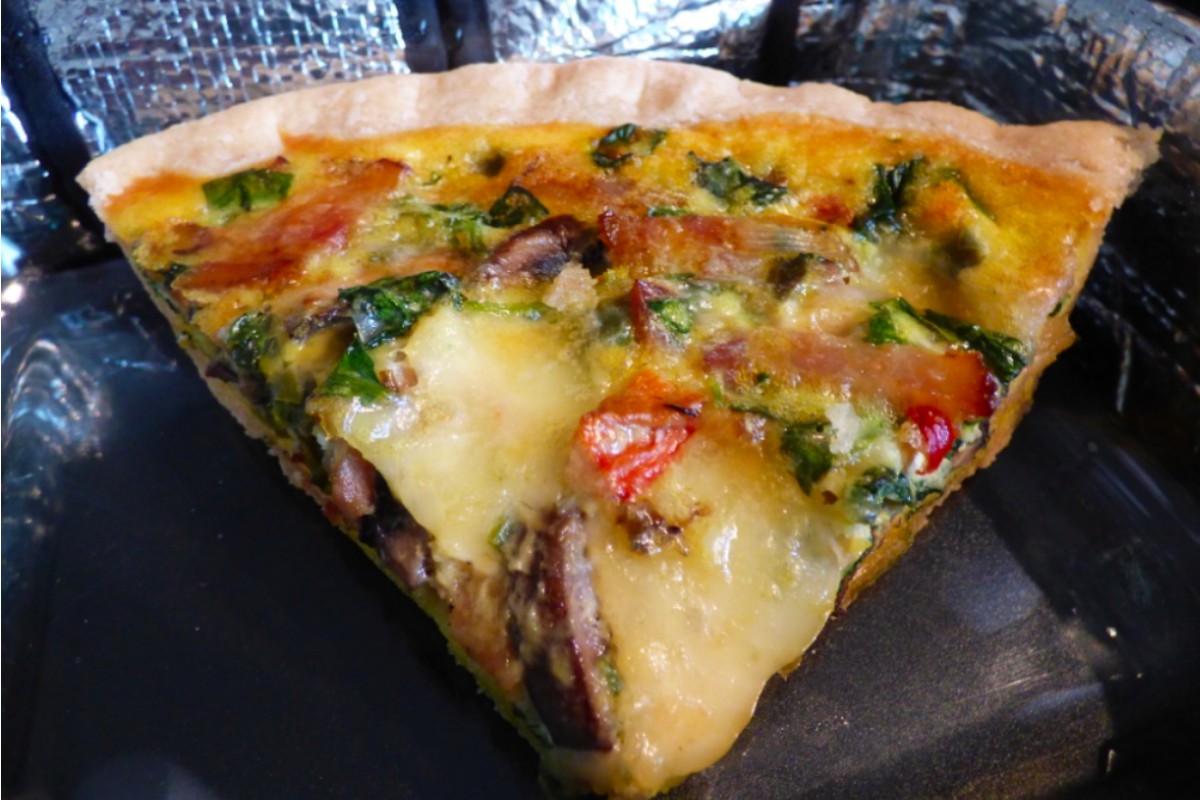
hot-logic-mini-quicheSo what did I make? I tried a bunch of different things. Indian food packets with rice are easy and delicious. Pasta dishes reheat super well. Any kind of stew (like chicken pot pie with a mashed potato crust) is ideal.

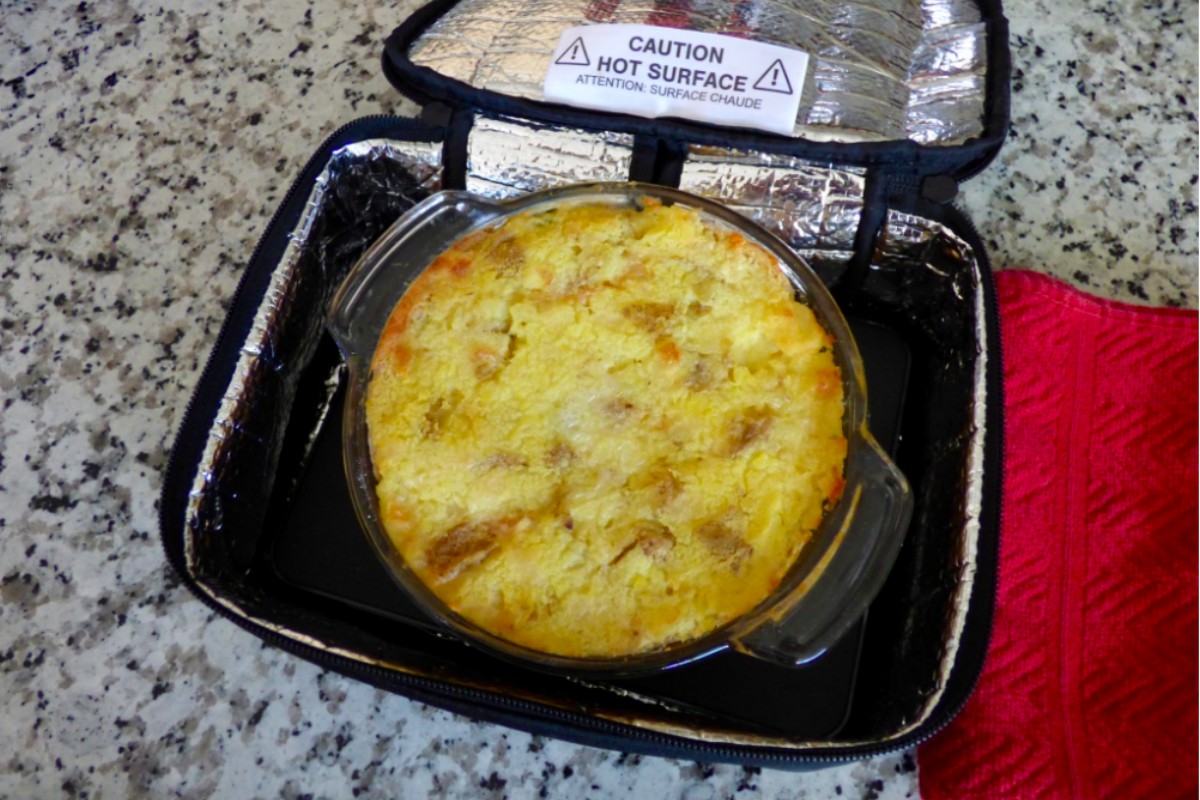
hot-logic-mini-chicken-pot-pieI don’t recommend soups with the pyrex containers because they’re not leakproof. And spills are kind of a pain in the butt. The inner seams of the bag are not so easy to clean. But that’s really my only criticism of the Mini’s design.

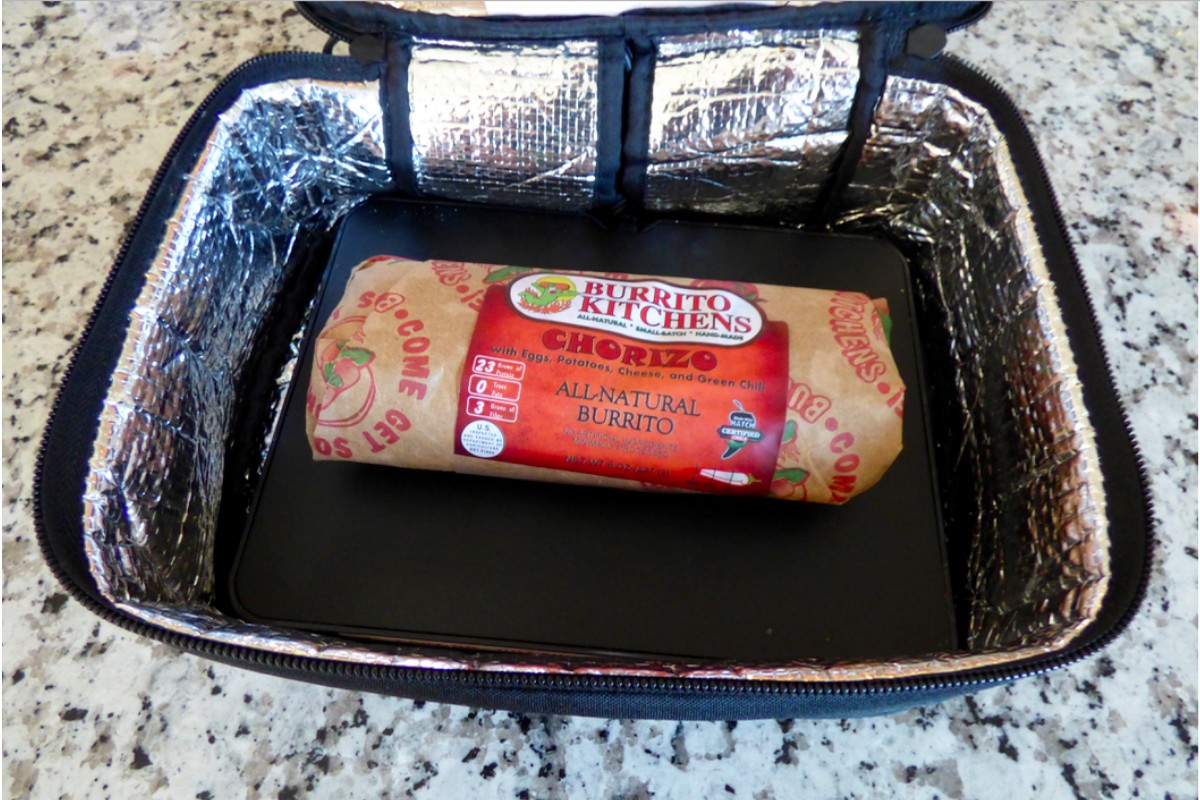
hot-logic-mini-pastaMy favorite discovery was the defrosted breakfast burrito. I did heat them in the paper wrapping but they reheat really, really well that way. I could probably unwrap the burrito and put it in a glass container. But convenience won me over on busy mornings.

hot-logic-mini-breakfast-burritoAs far as heating time goes, you’ll want to turn on the Mini 60-90 minutes in advance of when you’ll be eating. The burritos dry out a bit if they’re left in any longer than that. But any dish with moisture can sustain even longer heating times. It’s kind of like a crock pot in that way…

Which brings us back to the topic of slow food and yoga. Slow cooked foods are ideal for many reasons. The longer you slow cook certain foods (such as beans) the more chi or vital life force is infused into the food. It’s kind of like adding a bottle of fuel treatment to your gas tank. Slow cooking helps you increase the power, function and mileage of your body-vehicle.

If you’d like some recipe ideas you’re welcome to check out my Pinterest. If you enjoyed reading this article you might also like:
Yogis Can Eat Meat if They Want To

Home Rituals: Tortilla Soup

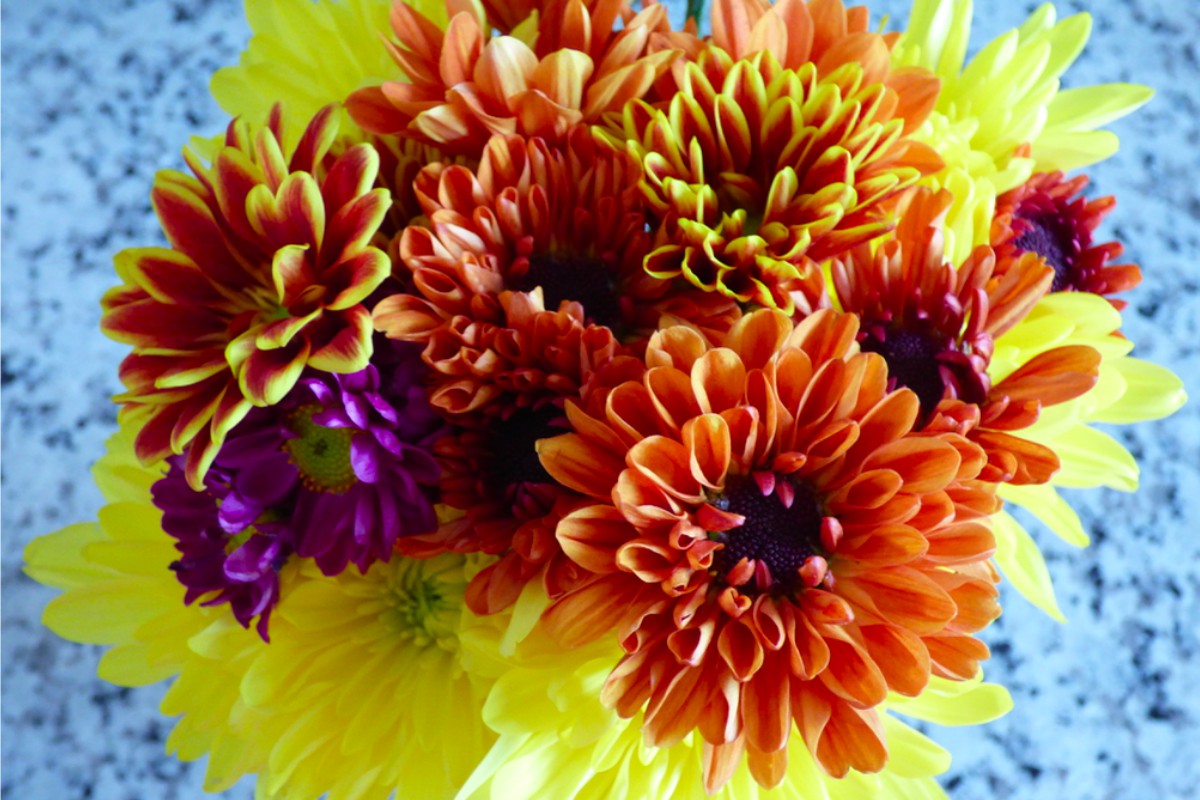
mind-body-mandala-mums

Practice, Practice, Practice Alone

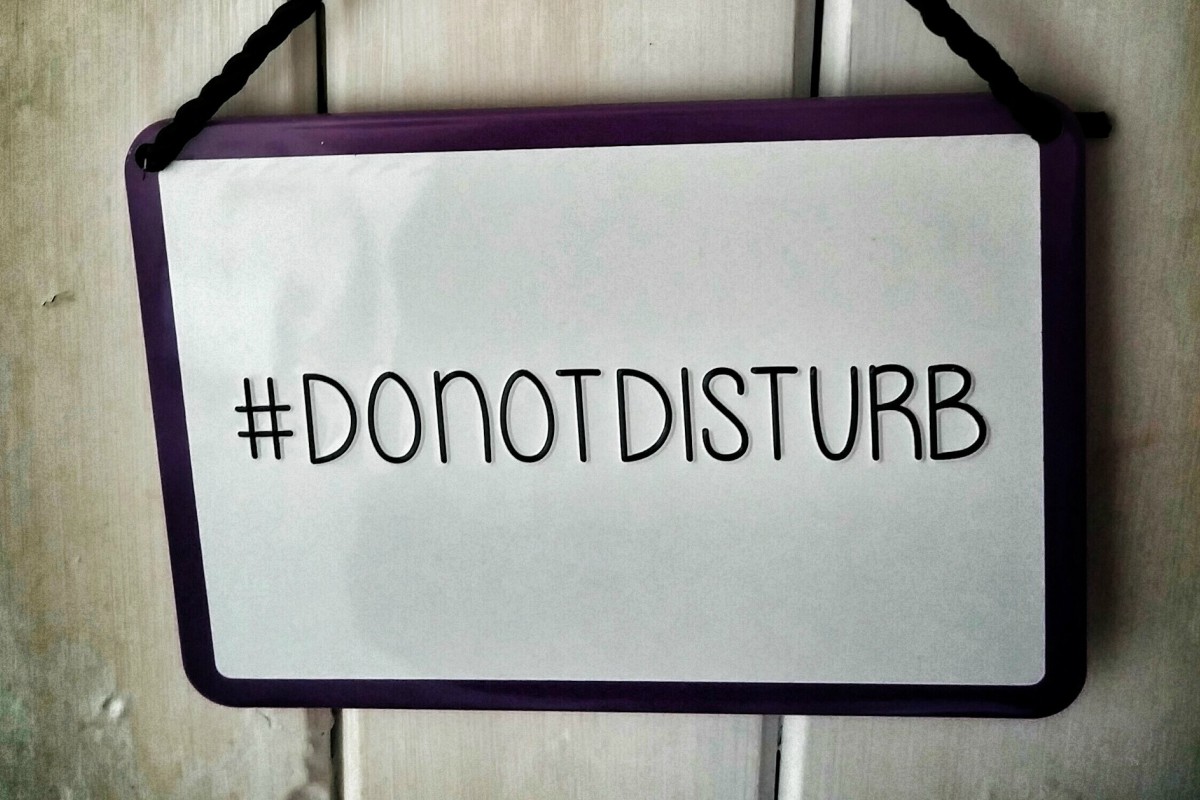
Practice Alone Do Not DisturbI just completed a month-long Personal Yoga retreat so I thought I’d share a few insights while they’re fresh in my mind. I still had my day-to-day responsibilities to attend to but I managed to raise the bar of my practice. I also did a social media fast (well, except for Pinterest – does that count as social media?)

Taking a month to withdraw gave me a much needed break. And it helped to raise my awareness of the challenges of being a modern day sadhaka. A sadhaka is a Sanskrit term for someone who follows a particular sadhana (a spiritual practice or way of life).

Practice Alone Flowers

According to B.K.S. Iyengar, one of the most famous yoga teachers of all time, a sadhaka uses yoga to gain knowledge, light and liberation. It also helps to purify the body and soul. – Yogapedia

Challenge #1: Practicing at Home

Some of the obstacles of maintaining a home practice are a result of, well… being at home. Home isn’t the gym, or the studio, or any other designated place for exercise. So we have to consciously make it into one, which takes work. I can’t tell you how many times I’ve started my practice only to have a “to-do” flash through my mind.

“Oh I forgot to change the laundry over, put the leftovers away, etc.” 

“Darn it, I meant to turn off my cell phone.”

“Oh man, I really need to shave my legs.”

It can be tricky to navigate the transition from housework or home office work to doing our home practice. My best advice is to stay on your mat. You’ll be able to take care of all of these things afterwards.

Challenge #2: Shared living spaces.

If you have housemates or family members around you may have to work at communicating your boundaries.

“I’m going to be practicing from now until such-and-such a time. Do you need anything before I get started?”

“I’d like to practice for the next hour. Could you please use headphones if you want to watch TV or listen to the radio?”

Challenge #3: This path can be lonely at times.

We may or may not have a community (sangha) of practitioners to support us in our journeys. It’s okay though – you’ll feel far more connected, centered and whole after you practice.

Challenge #4: Interruptions

It’s very important to choose a practice time when you won’t be interrupted. The people you live with may or may not realize what you’re doing. I’ve had people walk in and start talking to me when I was in a extraordinarily expansive meditation. It’s incredibly jarring to the nervous system to be disrupted when you’re in that state.

According to the Hatha Yoga Pradipika, “Useless Talk” is one of the 6 Destroyers of Yoga Practice.

Hopefully you’ll remember to turn your cell phone off. You can also minimize unexpected guests or workmen by telling people you work from home and can’t be disturbed.

Practice Alone MandalaIf you’re thinking about doing a personal retreat or just want to start a home practice, my very best advice is (to echo the words of the master himself) – practice, practice, practice alone. Try to practice when you won’t be disturbed. You can avoid many of these obstacles simply by making good use of your alone time.

As someone who used to dread the idea of being alone, I can tell you that practicing alone is one of the greatest things you can do for yourself. And when you do your sadhana (translation – good for you) you’ll have more than enough energy to extend to others.

Practice Alone Tea Cup