Semi-Private Training at Anytime Fitness Dumas

Anytime Fitness Dumas is the go-to spot for semi-private training! Why is this such a great option for our members? Some of the many benefits include:

  • More Personal Attention
  • Affordable
  • Variety
  • Camaraderie
  • Motivation
  • Support
  • Accountability
  • Fun!

Semi-private training programs are designed for 2-4 people and meet 1X or 2X a week. Clients can have additional DIY workouts sent to them through the TrueCoach app, which includes a video library of exercises.

Current offerings at Anytime Fitness:

Tiny Vikings: Big and tall, we bring it all! Fight hard to lose weight, increase strength and endurance.

Kick-start Core: Kick your fitness into high gear with this intro to cardio kickboxing. Focus on core strength and mobility training.

Silver Strong: Specialized training for seniors who want to increase strength, flexibility, and balance.

Plus+ Strong: Whole-body strength and mobility training for weight loss. We move quickly between exercises for cardiovascular benefits.

Commit 2B Fit: Nothing can stop us! Strength and mobility training for people who are working with past injuries.

All training sessions are Level 1-2 (Beginner/Intermediate)

Sessions are by appointment on Wednesdays and Saturdays

As the Head Fitness Consultant it is a blessing to work with such fantastic people! I am amazed at the progress my clients have made in three short months. They give me goosebumps!

Interested in joining one of these semi-private training programs, or would you like to form your own team? Contact me today to book a free fitness consultation.

Client FAQ: What is the best way to lose weight?

Many of my clients want to lose weight and weight loss is one of the main reasons why people exercise. But not all exercise programs are created equally and produce various results. The saying “work smarter, not harder” definitely applies to weight loss strategies.

I find that it’s helpful to start by explaining the difference between exercise and recreation. Exercise (a.k.a. strength training) is a process where the body performs demanding work in a clinically controlled environment. Recreation (biking, hiking, swimming, yoga, golf, etc.) is for mental health purposes whereas exercise is purely physical.

Recreation is for fun. Exercise is for strength.

Exercise will contribute to the performance of any recreational activity, through improved strength, endurance and resistance to injury. I compare this relationship to the structure of a house. Exercise is the foundation while recreation is the enjoyment that comes from having a kitchen, a bedroom, a living room, and so on.

Exercise is like balancing your budget. Not much fun but it’s absolutely essential.

Traditionally, cardio has been the focus of weight loss efforts. But studies have shown that dozens of hours of running or aerobic activities will only lead to small amounts of weight loss.

When combined with calorie restriction, a.k.a. improved dietary choices, better results were achieved with cardio. However, some of that weight loss was due to a loss of lean body mass rather than fat loss.

In a recent study with over 4,000 participants, the best results for weight loss were achieved through a combination of strength training and calorie restriction. And while exercise may not be as enjoyable as recreation, the good news is that short bursts of intense exercise can effectively boost your metabolism.

It is possible to lose weight in as little as 20 minutes.

To learn about additional ways to lose fat please read: Strength Training for Fat Loss, Exercise & Ways to Lose Fat

The journey to fat loss can be incredibly empowering! Do you want to lose weight? I would love to help you with achieving your goals. Contact me to schedule your free initial consultation.

If you enjoyed this article you might also like:

Self Teacher Study: Mind Body Tune Ups

Anytime Fitness – Head Fitness Consultant in Dumas, Texas

I am delighted to announce my new position at Anytime Fitness in Dumas, Texas! When I lived on the Western Slope, I was an Anytime Fitness member in Montrose, Colorado and I absolutely loved it!

The Anytime in Dumas is a wonderful facility that has state-of-the art equipment (Precor is my jam!). It also has a great heavy bag, showers, and lots of natural lighting. The gym is very clean and well-maintained, and is considered to be the go-to spot in town (second only to the Toppled Turtle).

Just like Snap Fitness, Anytime is open 24/7 with key fob access. I love the convenience of being able to go to the gym whenever I want. Some days I want to feel the pulse of a packed gym, and there are other times when I want my own personal playground.

Right now I am training clients at Anytime Fitness on Wednesdays and Saturdays.

It’s an honor to be working with such AMAZING people! I am so inspired to help them reach their fitness goals.

I am also starting to offer fitness consultations on Wednesdays and Saturdays. This is a great opportunity for new members to experience the many benefits of personal training. From now until May 2nd, it’s only $1 to join.

Stay tuned for specialized semi-private training offerings (coming soon!)

The Perfect Workout: 1-on-1 Slow-Motion Strength Training

Since graduating in December, I’ve started working as a Virtual Trainer with a company called The Perfect Workout. They have been in business since 1999 all across the US and have been offering Virtual Training since March of 2020.

The first time I tried the Super Slow method I knew that this was the missing piece of my fitness regimen! This science-backed system is based on a study by the University of Florida to help post-menopausal women create bone density.

Not only is The Perfect Workout safe and highly effective for seniors, it’s incredibly challenging for adults of all ages and ability levels.

Since I became a Perfect Workout Trainer, I’ve been learning all about why people LOVE the Super Slow method and Virtual Training. This is just a snapshot of what so many clients have shared with me:


“I love the convenience of Virtual Training. I save myself an hour by not having to drive back and forth to the studio!”


“The Perfect Workout has completely changed the way that I look at exercise.”


“Virtual Training is harder than the studio workouts!”

Many of you know that I’ve been a Slow Philosophy advocate for a very long time. I am delighted to be able to incorporate my training background with this brilliant system. And I would love to share the many benefits of The Perfect Workout with you.

Sign up for my VIP Newsletter to receive a FREE 1-hour Intro Session (normally $75). Offer expires March 19th.

To learn more about this revolutionary form of exercise visit: Is Virtual Personal Training Worth It?

Create Your Own Sleep Retreat in 6 Easy Steps

I just completed a ten day sleep retreat. I didn’t plan it, it just happened. I didn’t realize how sleep deprived I was until I started sleeping 10-11 hours at a stretch.

Last month I struggled with insomnia. I’d wake up at 2, 3 or 4 in the morning and my busy mind would not let me fall back asleep. It was a rough couple of weeks, but it gave me a firsthand experience of what many people struggle with on a daily basis.

To share some stats about sleep disorders… according to the American Sleep Association:

  • 50-70 million Americans have a sleep disorder.
  • Insomnia is the most common sleep disorder.
  • 30% of adults suffer from short term insomnia.
  • 10% of adults struggle with chronic insomnia.

The average adult requires 7-9 hours of sleep. Approximately one third of Americans report that they get less than 7 hours of sleep during a typical 24 hour period. Sleep disorders have been linked to drowsy driving, obesity, and death (due to medical errors).

People are taking steps to address sleeping disorders. Many luxury hotels and resorts have started offering Sleep Vacation packages. In an effort to combat stress, many couples are choosing to sleep alone.

[Recommended Reading: British couples too stressed to sleep in same bed.]

The practice of Sleep Yoga also encourages practitioners to sleep separately. Sleeping alone increases relaxation and allows for a more individualized dreaming experience.

Sleeping alone is one of 6 recommended steps for creating your own Personal Yoga Sleep Retreat. If spending a couple thousand dollars on a weekend getaway doesn’t fit your budget, a DIY home sleep retreat is an affordable and effective alternative.

Step 1: Take a Stay-cation. Give yourself the gift of some quiet time at home. Clear your schedule, and resist the impulse to fill it back up again.

Step 2: Clean your bedroom. Wipe down surfaces, vacuum, wash your sheets. Sort through clutter and donate items you aren’t using anymore.

Step 3: Avoid caffeine. People have different sensitivity levels to caffeine. As a general rule, if your goal is to fall asleep by 10pm reduce your caffeine intake after 5pm.

Step 4: Minimize exposure to artificial lights (this includes screen time). Candlelight or low lights will help you wind down.

Step 5: Bathe before bed. Take a shower or (even better) a bath. Adding a cup of Epsom salts to your bath will relax your muscles and increase your ability to sleep. Put on clean sleeping clothes and relax in bed with the lights off.

Step 6: Sleep alone (if you have the option to do so). It makes a huge difference in the quality of your sleep.

If you enjoyed this article you might also like:

Personal Retreat Reflections

Retreat Musings

When Life Gets Busy Your Practice is the First Thing to Go

One could say that moving falls in the top five life challenges. I’d say that’s a safe bet, just based on the volume of time and energy that moving requires. When life gets busy taking care of ourselves loses priority. Fast.

It’s been a week since I moved into my new home. It still feels like I have a thousand things to do and I’m juggling so many balls in the air. I’ll be so happy when I’m settled in and can get back on track with my practice.

As I’m unpacking I keep pausing in front of the window of my new training space. We just had a late spring blizzard and the beautiful pine tree outside is covered in snow.

I watch as the sunlight begins to shine through the clouds. I’m daydreaming about practicing in my new home.

I had to sacrifice my own training quite a bit this month. It happens. Especially when your home is under construction.

When life gets busy your practice is the first thing to go. – Garrell Herndon, Bodyworker and Yoga Instructor

At times like these I remember some wise words from an Iyengar yoga teacher that I studied with. They always serve as a good reminder to be gentle with myself during times of high output.

I know the work is worthwhile. I’m just so incredibly grateful to have a home training space. It’s a long term dream that requires very particular dimensions of space. I am not a fan of the tiny house movement. Or low hanging ceiling fans. Or big pieces of furniture.  I like to move!

I’m getting close to achieving my dream lifestyle: to have a job that I love, to be able to focus on my practice, and create Personal Yoga retreats. I can’t even begin to describe how happy this makes me…

Living my Dharma, one day at a time.

Self Teacher Study – Personal Yoga Training Chart

A Personal Yoga practice gives you the freedom to practice anytime, anywhere. Practicing at home sounds easy enough but it can take years to cultivate your own intuitive, organic practice.

Needless to say, it can be challenging to self-direct your own practice. Having too many choices can feel overwhelming. Without a clear road map you might start avoiding your mat altogether.

When I feel overwhelmed I get organized. I keep a wire-bound notebook on my desk at all times.

I love making lists. All kinds. Grocery lists, “To Do” lists, long-term goal lists, project lists, etc. I love the satisfaction of crossing things off and throwing lists away. I keep the best lists.

Six months ago I started developing my first Personal Yoga training chart (feel free to expand upon it). This organizational tool played an essential role in my recovery from a herniated disk.

Create your own Personal Yoga Training Chart

Step 1: Free Writing

Start by free writing a page of notes. Write continuously until you fill the page. Don’t worry about spelling, punctuation, grammar, etc. Write about your goals. Write about any challenges you might be having with your home practice. It’s okay to go off topic, just keep writing.

Step 2: Movement Vocabulary

On a fresh sheet of paper make a list (!) of exercises. Think about your movement vocabulary. Which exercises will help you reach your goals? What do you enjoy doing?

[The key word here is: Enjoy. One pitfall to avoid is too much structure. Too many have-to’s. Not enough want-to’s.]

How do you want to move?

The level of challenge is up to you. You could include one or two exercises that you don’t necessarily enjoy but would be good for you. For the most part include exercises that you genuinely enjoy.

Step 3: Training Chart

On a third sheet of paper make a chart. On the left side of the page list all of the dates for the next month. Across the top of the page create columns for each exercise that you listed in Step 2.

The number of exercises is up to you. I recommend anywhere from 3-12. Your personal practice can be as simple or as challenging as you want to be. The idea is to pick exercises that you can see yourself doing on a day-to-day basis.

Tracking your daily progress is very satisfying. And a training chart provides you with a record of your efforts over time.

Off Days

Gaps in your training schedule are okay! It’s bound to happen at some point. Life gets busy or takes an unexpected turn. Be kind to yourself on your off days. Trust that you’ll get back on track as soon as possible.

Could you use a little help with with your budding home practice? I’d love to hear about your goals. Book a free no-obligation consultation today.

If you enjoyed this article you might also like:

Self Teacher Study – Mind Body Parkour

Personal Yoga Benefits

Home Rituals – Maple Pecan Pie

I’ve had slow-cooked foods on the brain lately: French onion soup, barbecued ribs and pecan pie. Slow-cooked foods are ideal in the winter and when my body is craving certain foods, I listen.

I’ve wanted to make a pecan pie for ten years. My inspiration came from the Shoshoni Yoga cookbook, which I discovered after a day trip to the Rollinsville, Colorado center.

Even more outstanding than the high frequency of the beautiful mountain ashram or the gentle yoga class was the food…

The yoga class was held in the main hall next to the kitchen where I could hear the cooks chanting mantras (mantra: to protect).

The summer meal consisted of Mexican vegetable soup, salad with avocado dressing, and sopapillas with refried beans and cheese. I felt so nourished from eating these foods and left wanting to know more.

I studied every page of that cookbook. All great recipes (especially the desserts section) but the pecan pie was the most impressive. Why?

They use maple syrup instead of corn syrup.

I didn’t know you could substitute the two. Corn syrup is a standard ingredient in pecan pie. It’s also one of the sweeteners that I avoid.

Maple syrup is packed with nutrients and anti-oxidants. Combined with pecans’ massive health benefits this dessert is a phenomenal superfood.

“One saintly Ma from Bangalore tells us, “We need to eat a little sweet on occasion, so we stay sweet.” – Yoga Kitchen: Recipes from the Shoshoni Yoga Retreat

I’d been hesitant because I wasn’t sure how to do it. I didn’t want to mess up or waste good ingredients. But after a two week Personal Yoga retreat I felt more courageous and aware of my body’s messages.

It became clear that I needed more information. So I did some research which led me to this recipe. It’s similar to Shoshoni’s version and has more detailed instructions.

A Personal Spin

I used pre-shelled pecan pieces (slow food is great but ain’t nobody got time to shell 2 1/2 cups of pecans) and added a little nitrate-free bacon fat to the pie dough (bacon fat prevents the crust from burning). You could go straight butter – just keep an eye on the edges. [Is Lard Healthy?]

Maple Pecan Pie

Prep: 8 hours or overnight

Servings: 8

One 9″ Pie Crust

  • 3/4 cup white flour, chilled
  • 1/2 cup whole wheat flour, chilled
  • 1/2 tsp Kosher salt
  • 5 Tbsp butter, chilled
  • 3 Tbsp bacon fat, chilled
  • 4-6 Tbsp ice water

Filling

  • 2 1/2 cups toasted pecan pieces
  • 6 Tbsp butter
  • 3/4 cup dark brown sugar
  • 2/3 cup Grade B maple syrup
  • 3 large eggs
  • 1/2 tsp Himalayan sea salt
  • 2 tsp pure vanilla extract
  • 2 Tbsp Bourbon (optional)

Prepare the Crust

  1. In a food processor pulse to combine the flours and salt. Add chilled butter and fat and process until the mixture has the consistency of cornmeal. Add 4 Tbsp ice water and pulse until the dough gathers into a ball. Add 1-2 additional Tbsp of water if needed.
  2. Transfer dough to a piece of parchment paper. Form dough into a round disk, handling as little as possible. Wrap dough in parchment paper and place in a sealed ziplock bag. Place in freezer for 30 minutes.
  3. Unwrap dough and lightly flour a rolling pin. Roll dough into a 12″ circle. Transfer to a 9″ pie plate. Press rolled dough to fit pie plate. Shape edges into a fluted or decorative design of your choice.
  4. Chill crust for 30 minutes.
  5. Line pie crust with parchment paper and dry rice or pie weights. Bake crust at 400 degrees for 20 minutes, then remove paper and weights.

Filling

  1. Prepare the filling while the pie crust is baking. In a medium saucepan melt the butter, brown sugar and salt. Remove from heat and add maple syrup, vanilla, and Bourbon.
  2. Stir in the toasted pecan pieces. Option: to infuse the pecans add them to the vanilla-syrup while they are still hot. Let cool completely.
  3. In a small bowl whisk the three eggs. Stir into pecan mixture in three additions.

Pour filling into hot, pre-baked pie crust. Reduce heat to 275 degrees. Bake pie for 20-40 minutes. I recommend reading the Bojon Gourmet’s article for how to determine when the pie is done.

Let the pie cool completely and refrigerate. One hour before serving cut into slices and bring to room temperature.

If you enjoyed this article you might also like:

Home Rituals: Berry Walnut Muffin Bread

Self Teacher Study: Mind Body Tune Up

How to Plan a Winter Solstice Personal Yoga Retreat

Winter Solstice


“Winter Solstice”

No more hurry

hurry,

time now for firelight

and dreaming,

for church bells

mingling

with the cold, quiet sunlight.

And somewhere

deep

inside of you

a kernel of courage

unfurling –

each day, more light.

– Irene Latham


“If you want to make God laugh, make a plan.” 

A friend once shared this tidbit of wisdom with me, and it still rings true whenever my plans fall apart. I had every intention of focusing on my practice for the month of December but my immune system has been on the ropes from three consecutive colds.

Thankfully I’ve had a chance to regroup, just in time for the Winter Solstice. In some ways it’s better to start a Personal Yoga retreat now because I’ll have fewer distractions over the holidays.

Of course, the ultimate goal is to merge working life seamlessly with your practice. But according to the great Sage Patanjali, the first of 13 Obstacles on the Yogic Path is sickness. There isn’t much we can do until we’re feeling better. So incubation is key, which falls in line with the power and presence of the Winter Solstice.

Winter Solstice Retreat

I like to begin a Personal Yoga retreat with a few simple preparations. These are especially beneficial if you haven’t been feeling well or have low energy from holiday season burnout. I recommend starting with Saucha, the second Niyama (observance) of Patanjali’s Ashtanga Yoga.

The Niyamas are foundational practices that relate to our internal world. Saucha means purity or cleanliness of our internal and external worlds. When we engage in Saucha on an external level (such as our bodies), we are also affecting the internal (mind and spirit) parts of our beings.

If my house isn’t clean I have a hard time focusing on anything. So I like to practice Saucha with a thorough and intentional cleaning of my home environment. A few of my Saucha materials include:

  • White Vinegar Spray: Great for counter-tops, bathrooms and floors (dilute 50/50 with water).
  • Baking Soda: Mix with vinegar spray to create a paste for sinks or tubs.
  • Essential Oils: Lavender and Tea Tree are powerful antiseptics. Add a few drops to a sponge or mix with grain alcohol for a DIY air freshener. (For more information, read Freshen Indoor Air Naturally )

I love the way burning candles and diffusing essential oils can lift the feeling of a space. [Fun fact: I recently learned that burning dried sage can reduce airborne bacteria.] Another nice touch is a vase of fresh flowers in clean water.

I like to conclude a meditative house cleaning with a hot shower and a fresh set of clean clothes. These simple steps clear my mind so that I can drop more easily into my practice and refill my “cup.”

I hope these tips spark your imagination with creating your own Winter Solstice Retreat.

If you enjoyed this article you might also like:

Winter Solstice and the Guru Bead

6 Immunity Boosting Tips

Hot Logic Mini

hot-logic-mini-parkDisclaimer: I am not paid to endorse the Hot Logic Mini. I am simply sharing my appreciation for the intelligent design of this product with my readers.

So I’ve never blogged about a product before, but this is one of the best things that I’ve come across in a long time. And it ties into past discussions about alchemical cooking, health, the Slow Movement, etc.

The Hot Logic Mini is a personal portable oven that uses what the company describes as a “low-slow conductive heating system.” According to their website:

The Hot Logic Mini is ideal for those of us who don’t like microwaves… busy people who don’t have time to cook… truckers / delivery drivers / travelers who don’t have a lunch room… food preppers & fitness enthusiasts… folks with food allergies or special dietary concerns who want to carry a safe, healthy, hot meal with them anywhere they go.

I can’t stand microwaves. Just the thought of ruining a good meal by wicking away all of the nutrients makes me feel pretty sad. It’s one of the reasons why I don’t like to eat out very much. I prefer to cook my own meals because I know exactly what’s going in them and how they were prepared.

When I go out into the world for work or school, microwaves tend to be the only available option. I am a firm believer in the necessity of eating hot meals. Hot food is as essential for good health as hot beverages are – especially in the colder months.

I am the kind of person who carries a toaster oven around with me. [Taoist Travel Tip: they do come in handy on the road.] But toaster ovens are bulky and can take up space, and it’s not so easy to be discreet with them. So you can imagine my excitement when I discovered my new favorite thing:

The Hot Logic Mini

I just spent a month playing with my new toy. I paid $40 for it on ebay and didn’t want to take the risk of having someone steal it. So I kept it my car and used a portable jump starter with a USB outlet and a 100 watt car inverter (the Mini uses 45 watts).

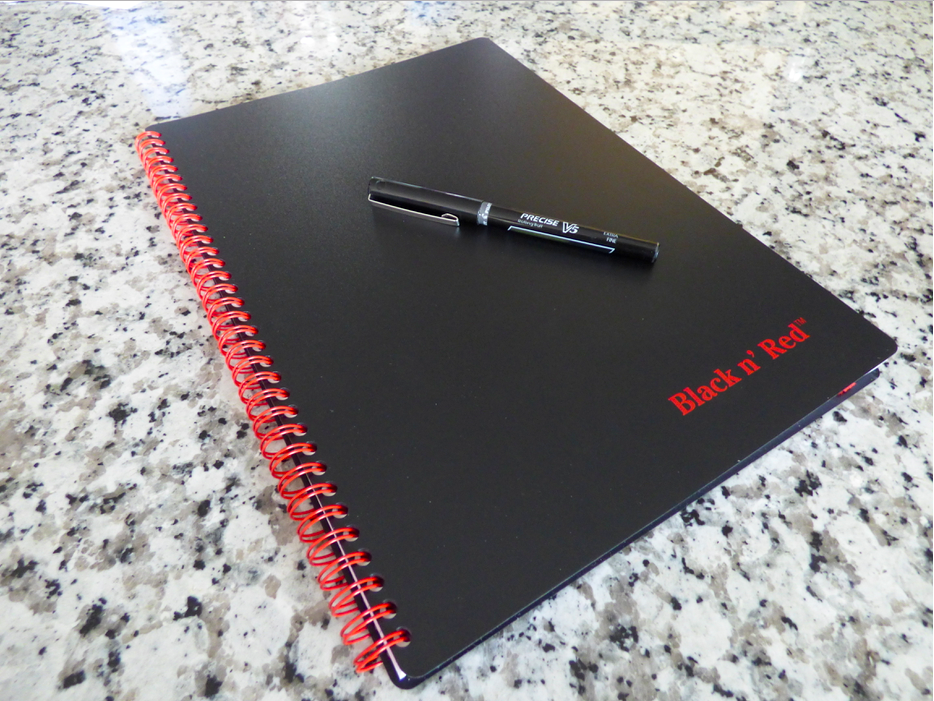
I use glass pyrex containers for food storage. Glass is preferable to plastic or aluminum foil, because glass keeps the food safe from harmful chemicals that leach into the food when it’s heated. Glass is also non-porous so it doesn’t absorb food or germs.

hot-logic-mini-quiche
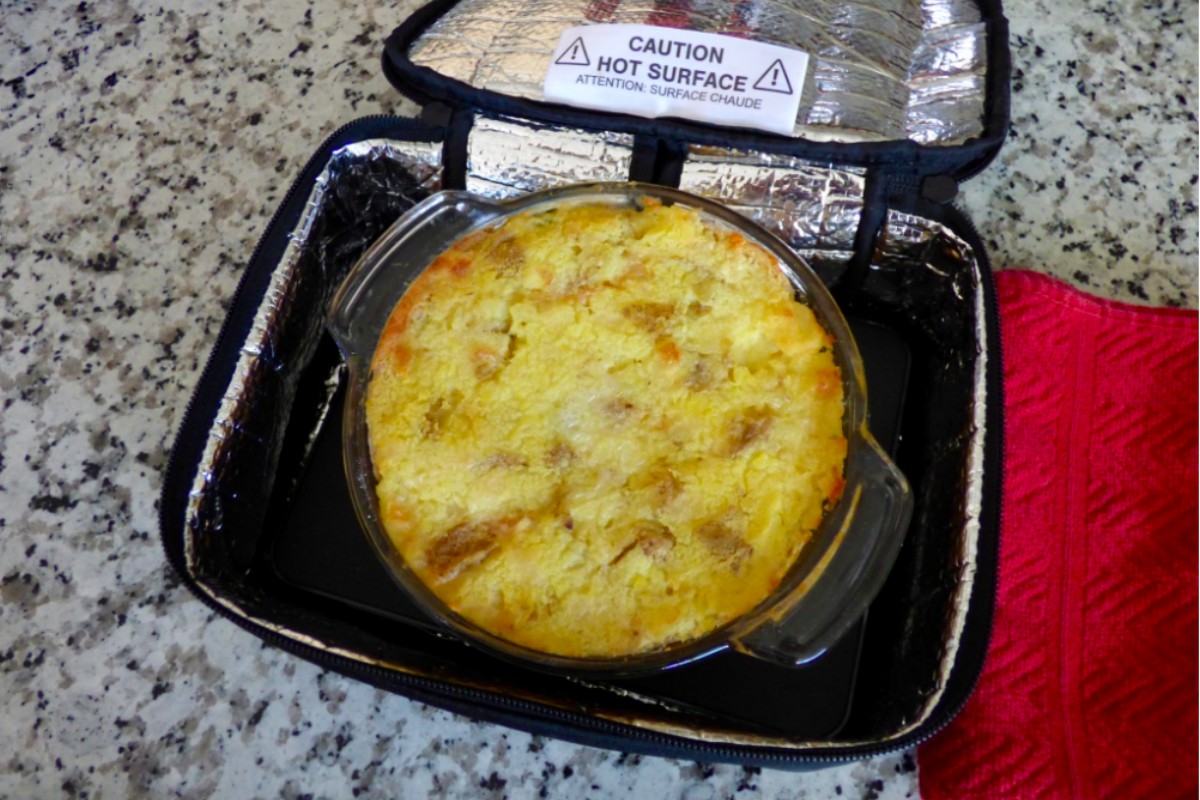
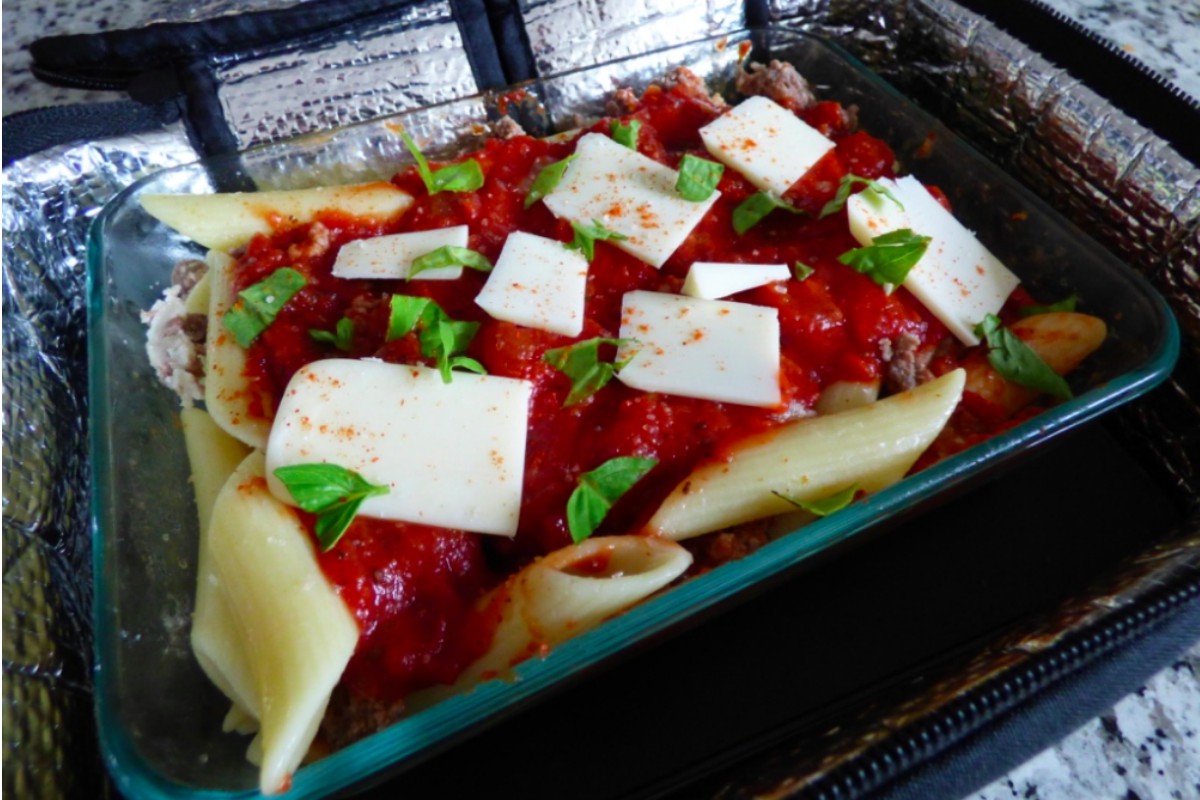
So what did I make? I tried a bunch of different things. Indian food packets with rice are easy and delicious. Pasta dishes reheat super well. Any kind of stew (like chicken pot pie with a mashed potato crust) is ideal.

hot-logic-mini-chicken-pot-pieI don’t recommend soups with the pyrex containers because they’re not leakproof. And spills are kind of a pain in the butt. The inner seams of the bag are not so easy to clean. But that’s really my only criticism of the Mini’s design.

hot-logic-mini-pastaMy favorite discovery was the defrosted breakfast burrito. I did heat them in the paper wrapping but they reheat really, really well that way. I could probably unwrap the burrito and put it in a glass container. But convenience won me over on busy mornings.

hot-logic-mini-breakfast-burritoAs far as heating time goes, you’ll want to turn on the Mini 60-90 minutes in advance of when you’ll be eating. The burritos dry out a bit if they’re left in any longer than that. But any dish with moisture can sustain even longer heating times. It’s kind of like a crock pot in that way…

Which brings us back to the topic of slow food and yoga. Slow cooked foods are ideal for many reasons. The longer you slow cook certain foods (such as beans) the more chi or vital life force is infused into the food. It’s kind of like adding a bottle of fuel treatment to your gas tank. Slow cooking helps you increase the power, function and mileage of your body-vehicle.

If you’d like some recipe ideas you’re welcome to check out my Pinterest. If you enjoyed reading this article you might also like:

Yogis Can Eat Meat if They Want To

Home Rituals: Tortilla Soup

mind-body-mandala-mums