My friend Camilla introduced me to this pumpkin pie recipe when we were college roommates. She made a dairy-free, gluten-free version that was outstanding. Honestly, it changed my whole outlook on pumpkin pie.
I’m thankful that I don’t have any food allergies or sensitivities. But I picked up a few tricks while living with people who do. Like this Maple Coconut Pumpkin Pie.
I like the filling even more than the traditional recipe. It’s simple enough – just replace the sweetened condensed milk with coconut milk and maple syrup. I couldn’t remember the exact ratio so I looked up these recipes:
King Arthur Flour – Pumpkin Pie
Primally Inspired – Paleo Pumpkin Pie
I also did a little research on what pumpkin is good for. No surprise here – pumpkin is considered to be a superfood. Some of the many health benefits of pumpkin include:
- High in Vitamins A and C
- Boosts vision
- Rich in beta-carotene
- May reduce the risk of cancer
- Prevents wrinkles
- Balances electrolytes
Combining pumpkin with coconut milk and maple syrup takes this recipe up multiple notches. In The Skinny on Skin Care I talk about why coconut is so beneficial for your skin. (Tip: eating coconut also nourishes your skin from the inside).
Maple syrup does wonders for the body too. I like to cook with a variety of natural sweeteners and maple syrup is one of my favorites. [Read: Home Rituals – Maple Pecan Pie]


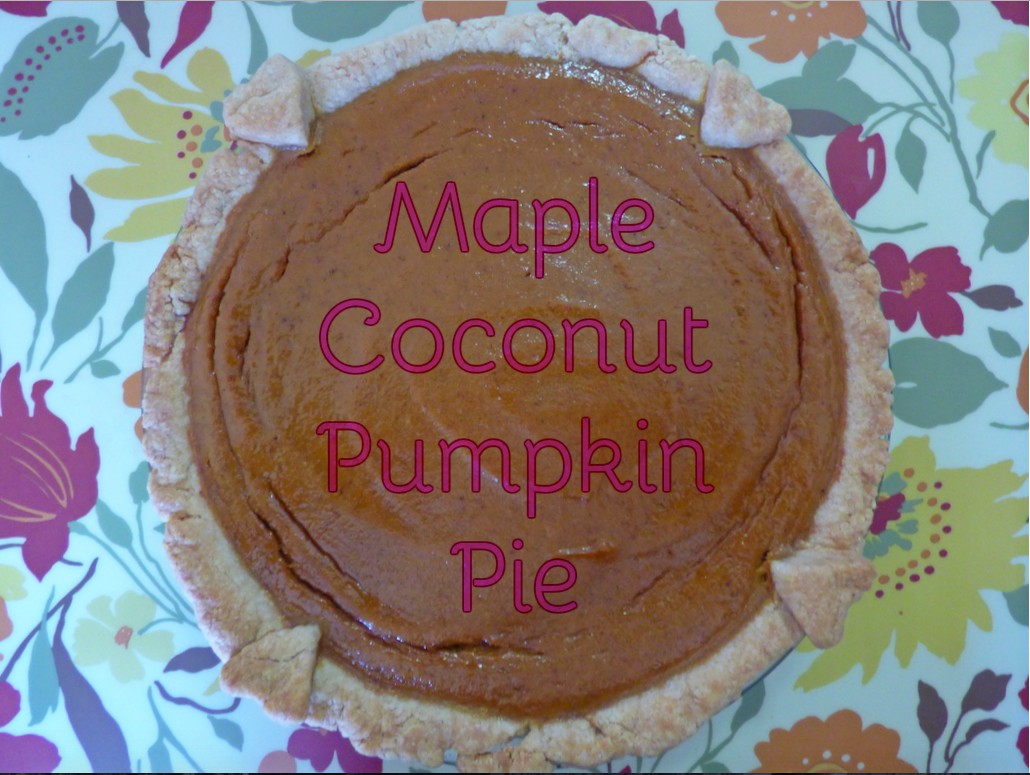
Maple Coconut Pumpkin Pie
Filling:
1-15 ounce can pumpkin puree
1 cup full fat coconut milk
1/2 cup maple syrup
3 eggs
2 teaspoon vanilla extract
2 teaspoons pumpkin pie spice
1/2 teaspoon Kosher salt
Crust:
One 9-inch unbaked pie crust (I use a variation of this recipe: All Butter Pie Crust).
Instructions
- In a medium bowl, whisk three eggs until well combined. Add pumpkin puree, coconut milk, maple syrup, vanilla, pumpkin pie spice and salt.
- Combine filling using an immersion blender.
- Refrigerate filling overnight.
- Preheat oven to 425 degrees.
- Roll pie dough into a 13″ circle and transfer to a 9-inch pie plate.
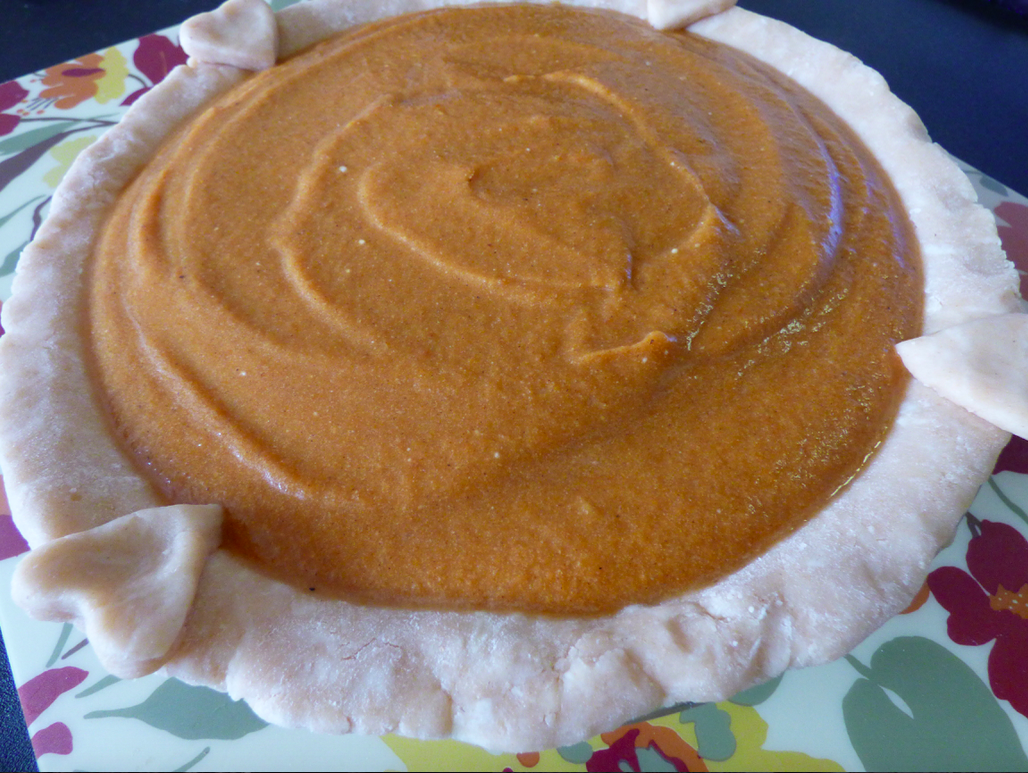
- Pour filling into the unbaked pie shell.
- Bake for 15 minutes, then reduce heat to 350 degrees. Bake for an additional 30-40 minutes, or until a knife blade inserted 1 inch from the edge comes out clean.
- Serve warm or at room temperature.
Optional: Top with sweetened whipped cream or coconut whipped cream.


